Send Routes to Truck Navigation App – Garmin, TomTom
Instantly send dispatcher-planned truck routes to Garmin, TomTom, or the IMPARGO DriverApp. This workflow is designed for carriers, freight forwarders, and logistics teams who want to save time, improve accuracy, and simplify navigation and delivery for every order.
IMPARGO helps SMEs, freight forwarders, and carriers across Europe reduce admin work, cut costs, and keep every delivery on track—no matter how many trucks or which navigation system you use. Discover how you can optimize your business with our truck route planner, toll calculator, and transport cost calculator as part of a fully integrated platform.
Explore the full capabilities of the IMPARGO Transport Management Platform.
Table of Contents
- IMPARGO DriverApp: Send Truck Routes Instantly to Any App
- Export & Send Routes from IMPARGO to Garmin Truck GPS
- Send Dispatcher Routes from IMPARGO to TomTom Truck Navigation
- FAQ: Sending Truck Routes to Navigation Apps
IMPARGO DriverApp: Send Truck Routes Instantly to Any App
IMPARGO DriverApp is the fastest way to plan, send, and follow truck routes—no manual exports, cables, or external software required. Plan routes online in the IMPARGO Truck Route Planner, dispatch them to your drivers in real time, and navigate directly from the DriverApp.
- One-tap start: Driver receives the dispatcher's route on their phone—no retyping, no confusion.
- Supports vehicle profiles, live traffic, and truck restrictions for reliable, legal routing.
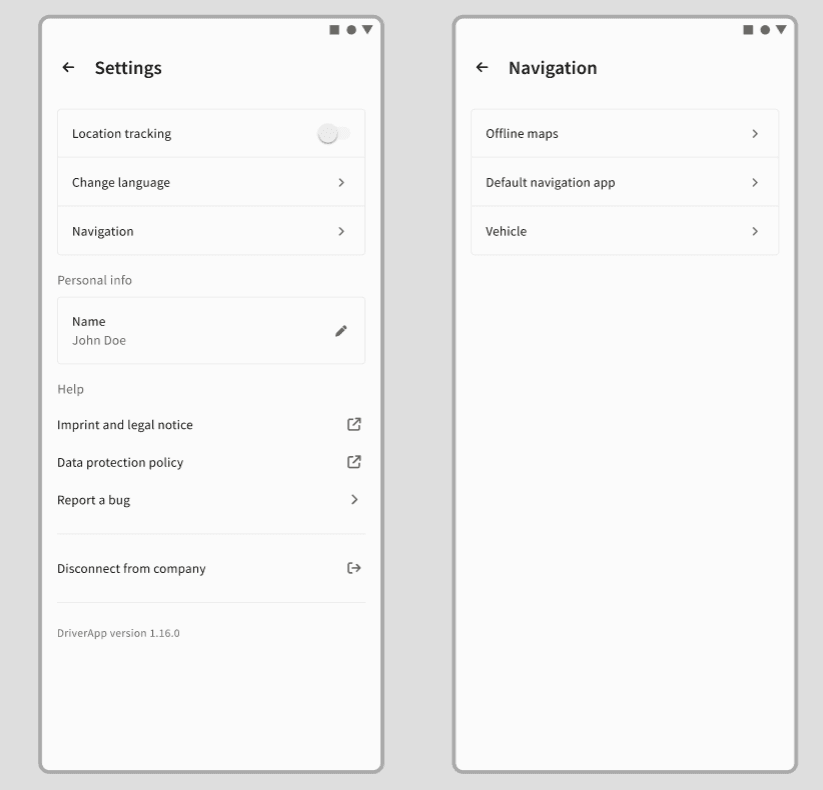
- Driver can also choose Garmin, TomTom, or Sygic from the app menu if they prefer.
- All-in-one: Live tracking and instant rerouting—stay in control and respond to changes fast.
- Digital proof of delivery and order management—less paperwork, fewer disputes. Manage all your loads in one place with order & offer management.
- Works for one truck or an international fleet—no forced migration or vendor lock-in.
Why IMPARGO DriverApp Stands Out
- No more juggling export formats or multiple devices—just plan, send, drive.
- Fully digital workflow: tracking, compliance, and communication in one tool. Perfect for freight forwarders and shippers who need reliability.
- Order management, navigation, and proof of delivery—all in one app.
- Sign up free and see how easy smart truck navigation can be.
See for yourself: Create your free IMPARGO account and start planning and dispatching smarter today.
Join hundreds of European SMEs and carriers already optimizing their dispatch with IMPARGO.
Export & Send Routes from IMPARGO to Garmin Truck GPS
Still using Garmin Dezl, Overlander, or DriveSmart for truck navigation? IMPARGO lets you export dispatcher-planned routes for your navigation device with just a few clicks—so your drivers always have the right information.
- Plan your route in IMPARGO TMS and export it as a KML file.
- Convert KML to GPX using kml2gpx.com if needed.
- Import to Garmin BaseCamp, then transfer to your device via USB.
- Start navigating on your Garmin device with the dispatcher's planned route.
For full digital tracking, live chat, and proof of delivery, use the IMPARGO DriverApp alongside Garmin. Cut admin time, reduce errors, and support your drivers on the road.
Send Dispatcher Routes from IMPARGO to TomTom Truck Navigation
Many fleets use TomTom GO Professional or GO Fleet. With IMPARGO, you can export any planned route for TomTom truck GPS devices, or use DriverApp for a full digital workflow. Your team gets both flexibility and consistency, with less risk of mistakes.
- Plan your truck route in IMPARGO, export as KML.
- Convert the KML file to GPX if required (with kml2gpx.com).
- Import the GPX file to your TomTom using MyDrive web, USB, SD card, or Bluetooth—whichever your device supports.
- Your dispatcher's planned route appears on the TomTom, ready for navigation.
Or, navigate, track, and manage orders digitally with IMPARGO DriverApp and skip manual exports altogether.
FAQ: Sending Truck Routes to Navigation Apps
How do I send routes to a truck navigation app?
Plan your route in IMPARGO Truck Route Planner, dispatch directly to DriverApp, or export as KML/GPX for Garmin and TomTom truck navigation apps. One process, multiple options.
Can drivers use Garmin or TomTom instead of IMPARGO navigation?
Yes. Drivers can launch Garmin, TomTom, or other installed truck navigation apps from the DriverApp, always using the dispatcher's planned route for accuracy and compliance.
What extra features do I get with IMPARGO DriverApp?
- Real-time GPS tracking and driver behavior analytics: know where every truck is, reduce delays and missed deliveries.
- Instant rerouting, chat, order instructions, and document/photo uploads—improve communication and react to issues quickly.
- Digital proof of delivery (PoD) and order management—less paperwork, fewer disputes, and faster customer service.
Is there a cost to use IMPARGO for sending routes to navigation apps?
You can get started with a free IMPARGO account. Advanced fleet features, route planning, and digital order management are available with flexible pricing as your business grows.
Which fleets benefit most from IMPARGO?
IMPARGO supports FTL, LTL, express, bulk, silo, and ADR transport types—across Germany and all of Europe.
Can IMPARGO handle international or cross-border truck routes?
Yes! IMPARGO supports cross-border route planning, toll calculation, and compliance for pan-European and international transport operations. Learn more about toll calculation and cost calculation.
IMPARGO vs. Garmin & TomTom: What's Best for Your Truck Navigation?
- IMPARGO DriverApp: All-in-one—plan, send, track, reroute, communicate, and document in one workflow.
- Garmin/TomTom: Robust navigation hardware; compatible with dispatcher route exports from IMPARGO; best for legacy fleets or mixed workflows.
- Hybrid: Use both for maximum flexibility—digital management with IMPARGO, navigation on the device your drivers know.
Most modern fleets switch to IMPARGO TMS for the time savings, tracking, and digital proof of delivery—but IMPARGO supports both approaches.
Start Sending Routes to Your Truck Navigation App Now
Stop wasting time on manual exports and disconnected tools. Control your entire workflow—from planning to dispatch, fleet management, invoicing, and toll calculation—inside the IMPARGO Transport Management Platform. Whether your drivers use IMPARGO DriverApp, Garmin, TomTom, or a mix, you'll always keep dispatcher control, route adherence, and live order data.
Ready to upgrade? Sign up free for IMPARGO or book your personal demo and discover how simple truck navigation and fleet management can be.
Contact us:
Phone: +49-(0)-30-12083684
Email: support@impargo.de