Table of Contents
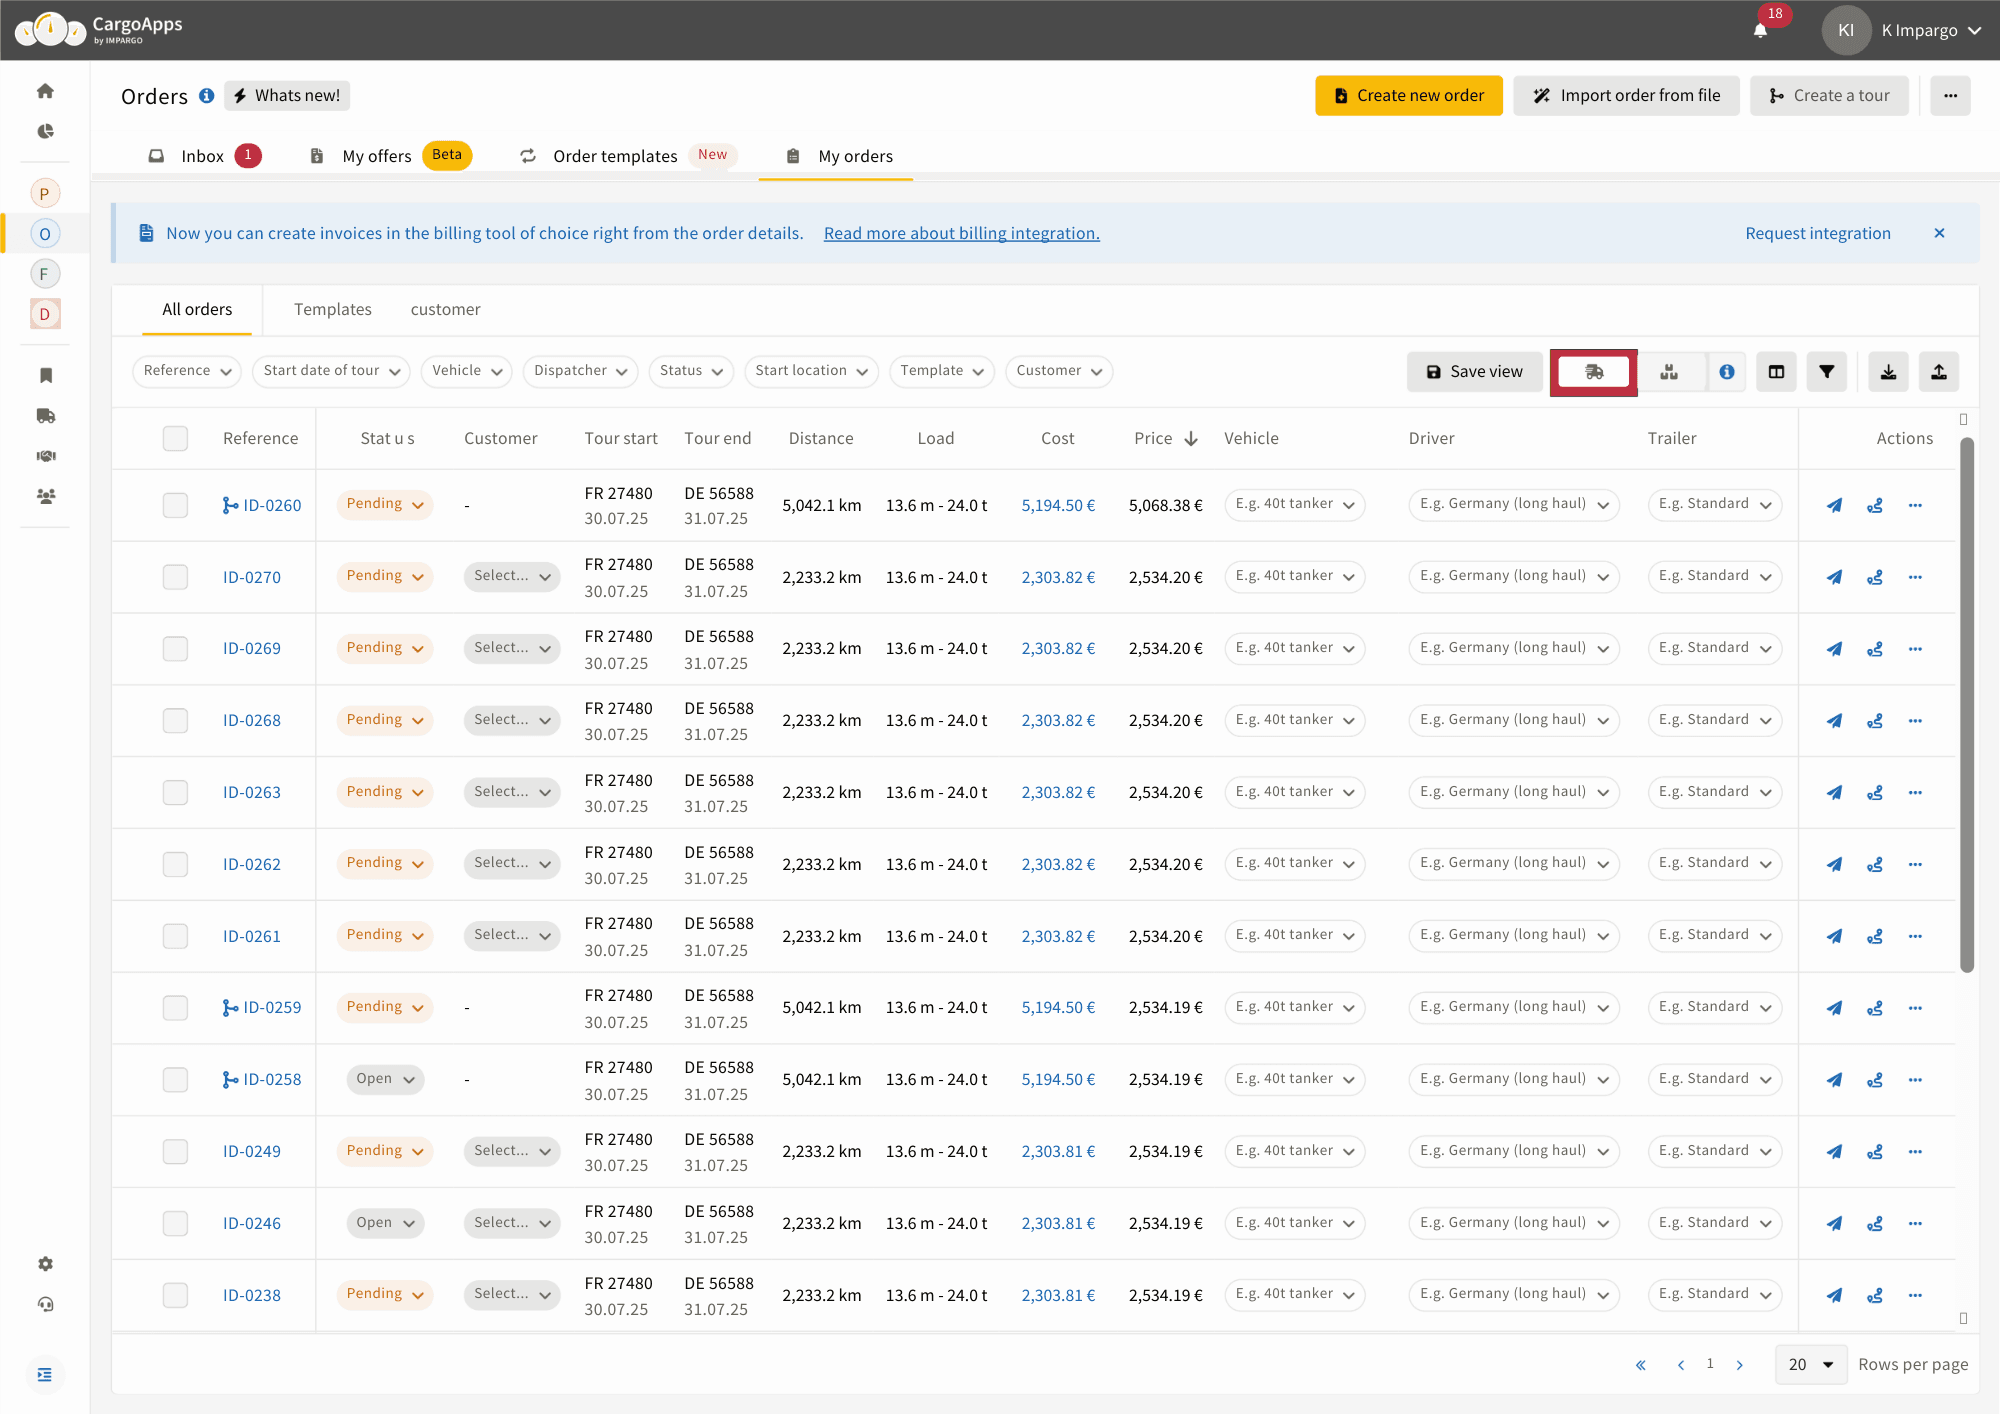
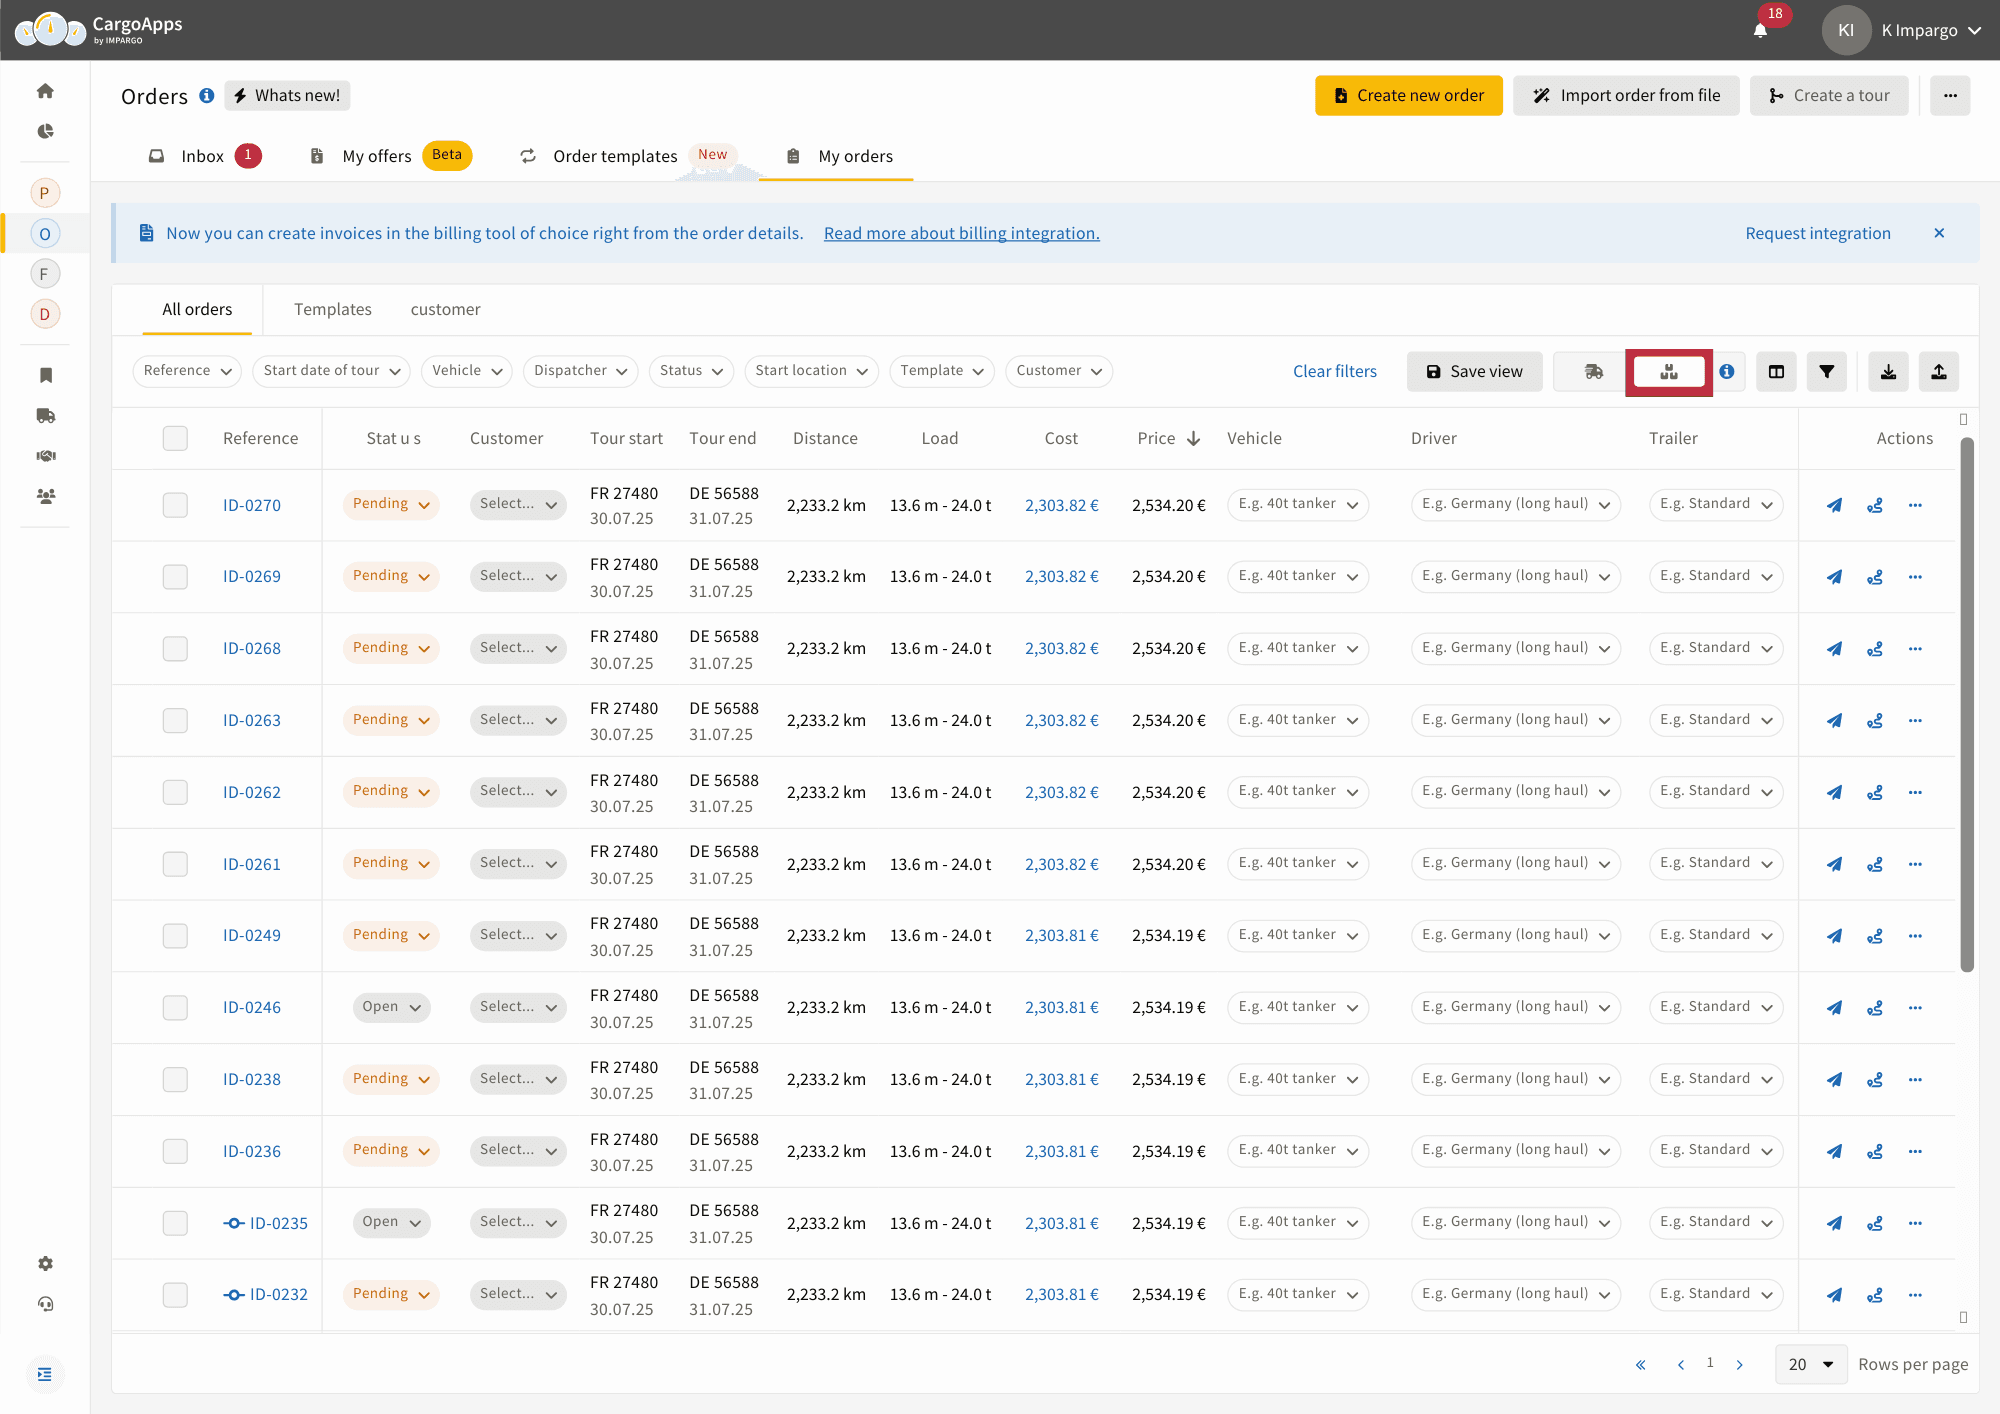
- Access the Orders Module
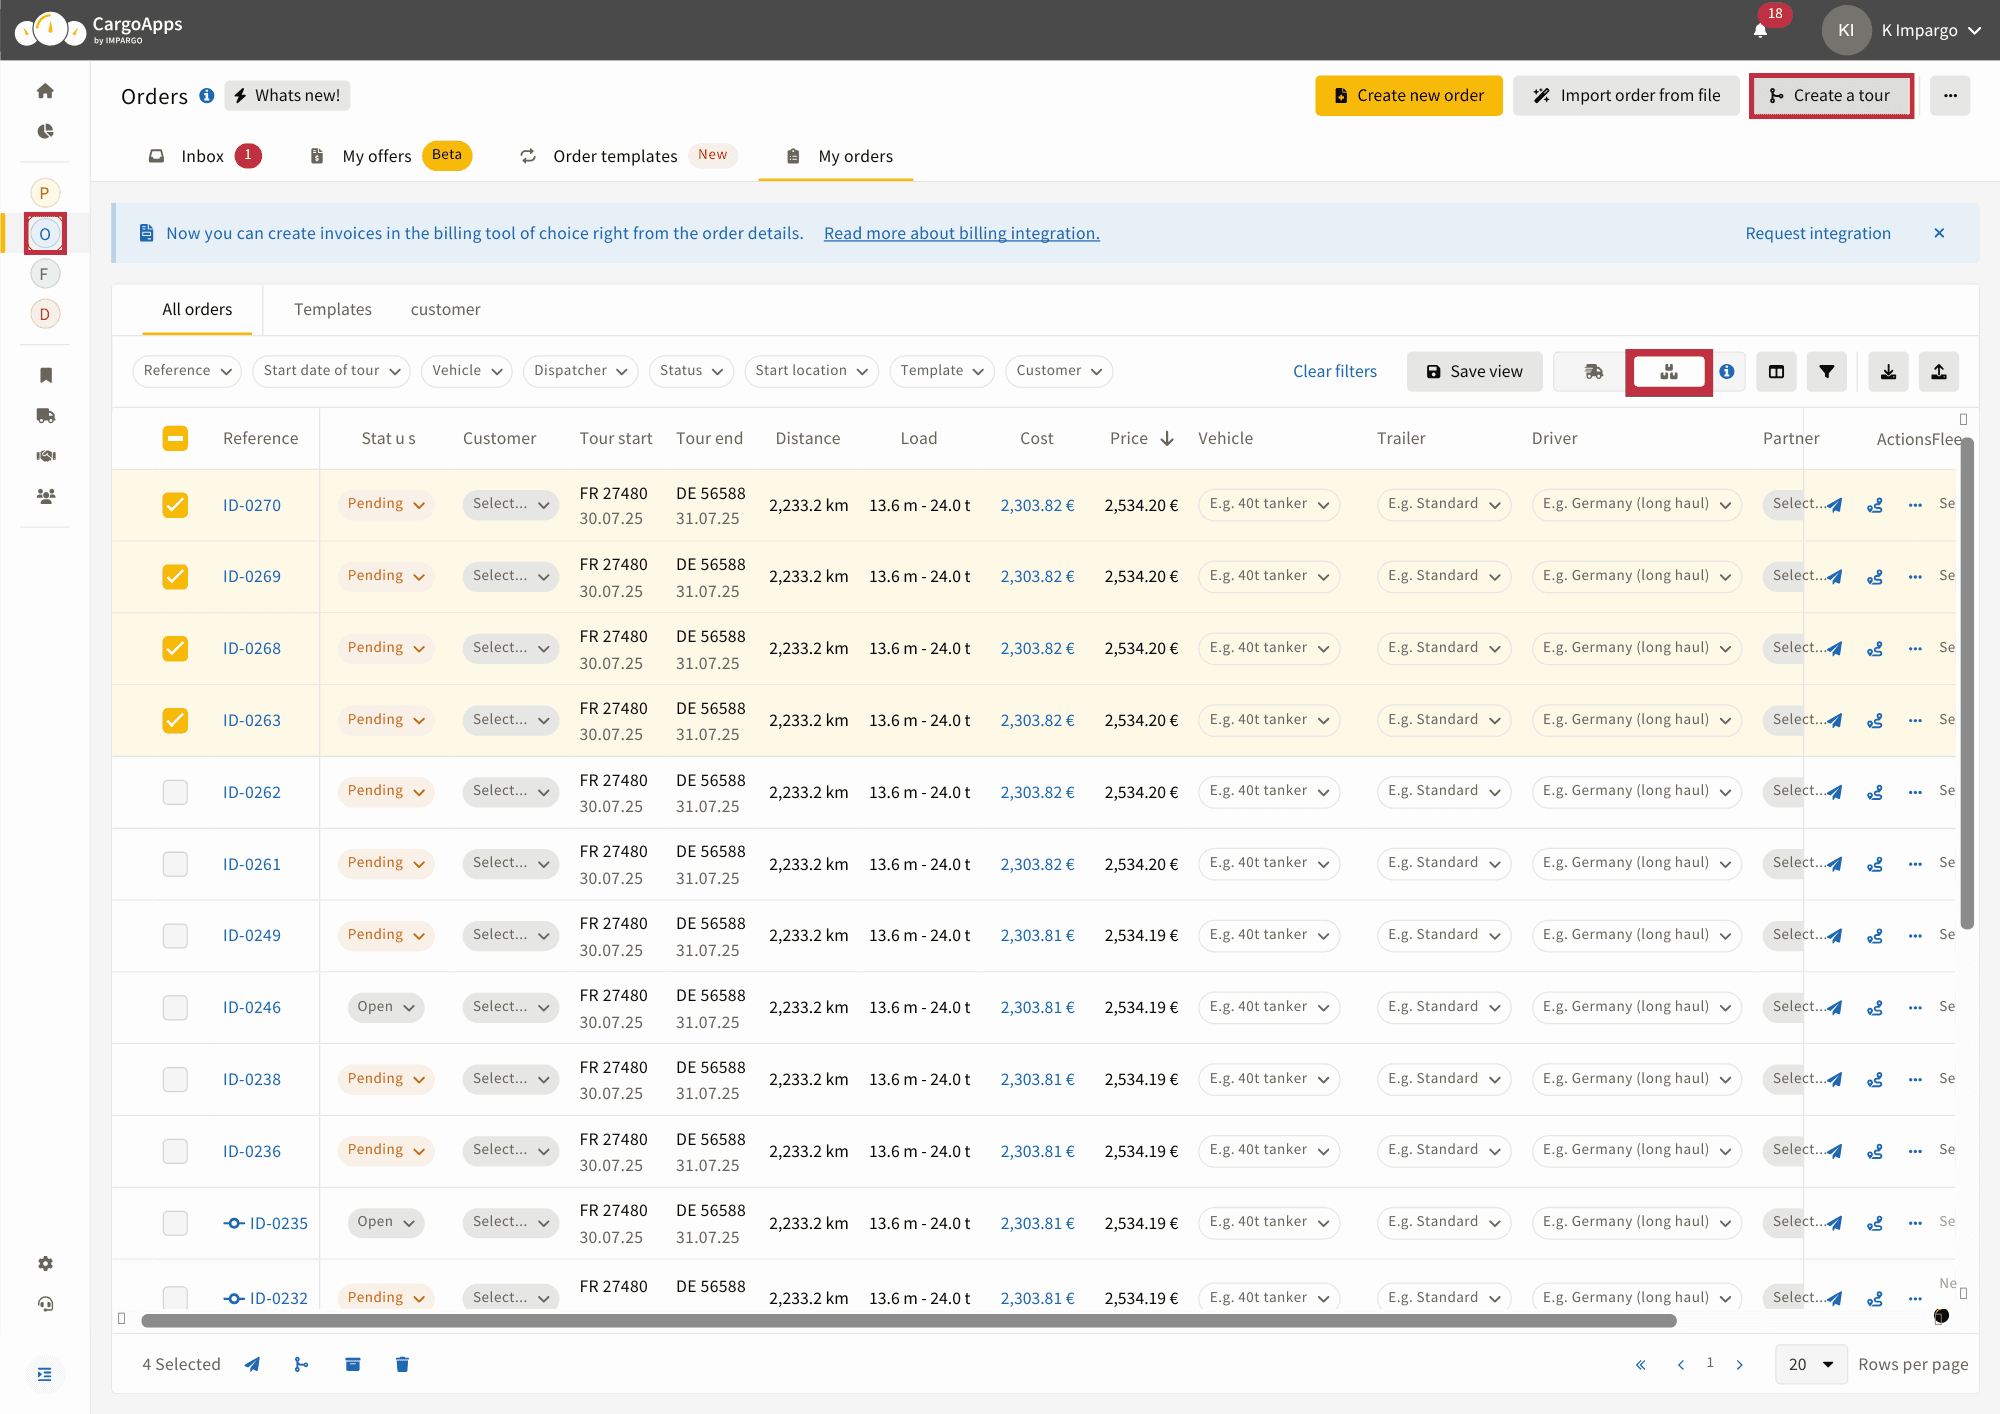
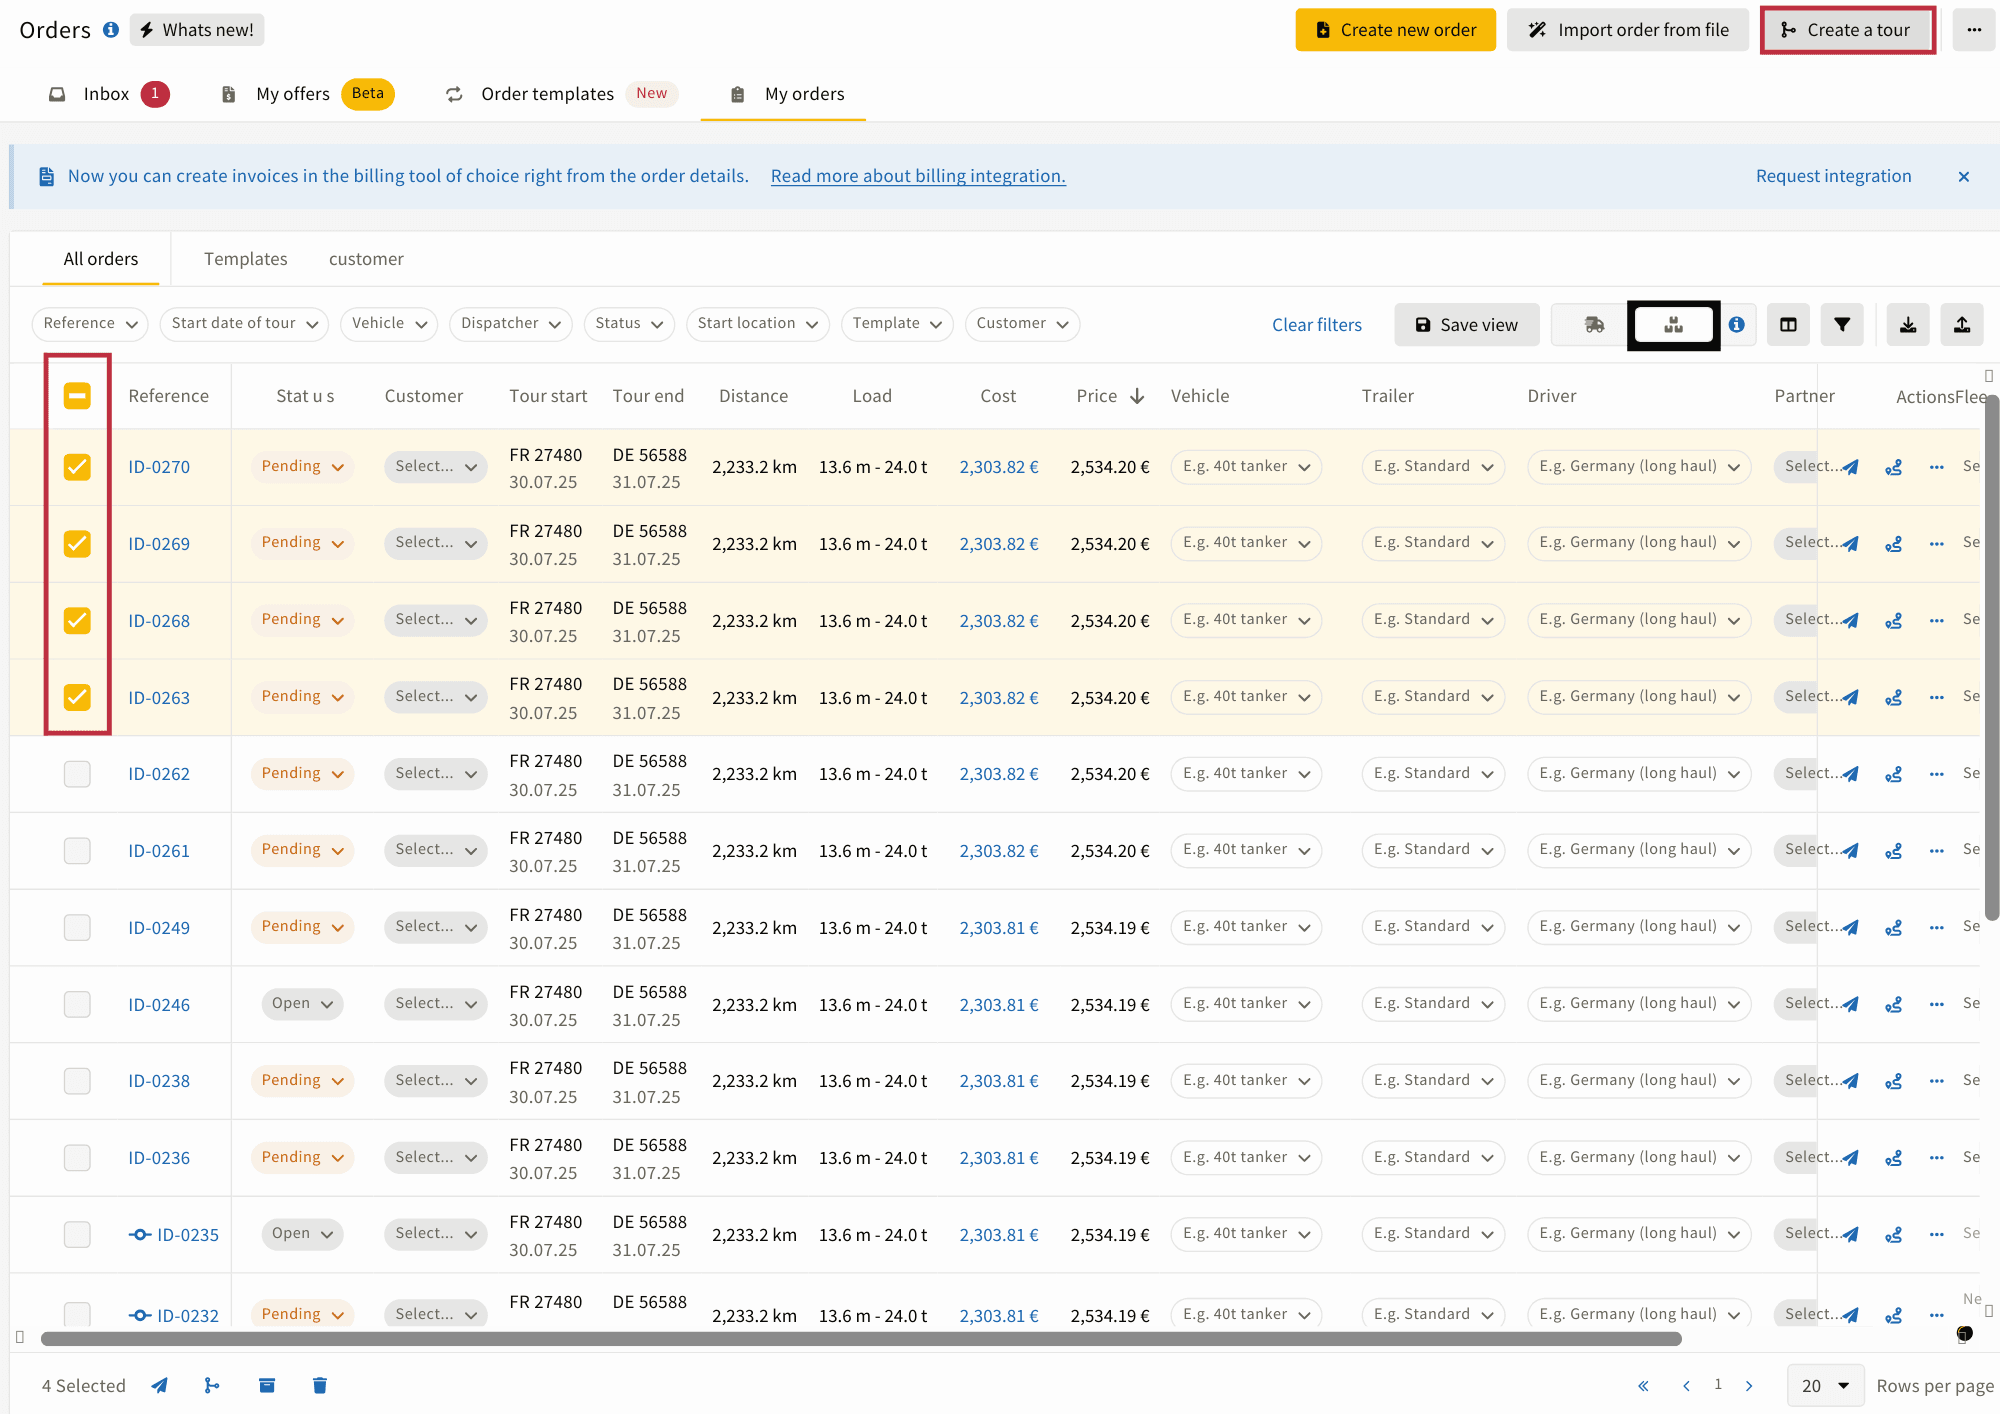
- Select Orders to Create a Tour
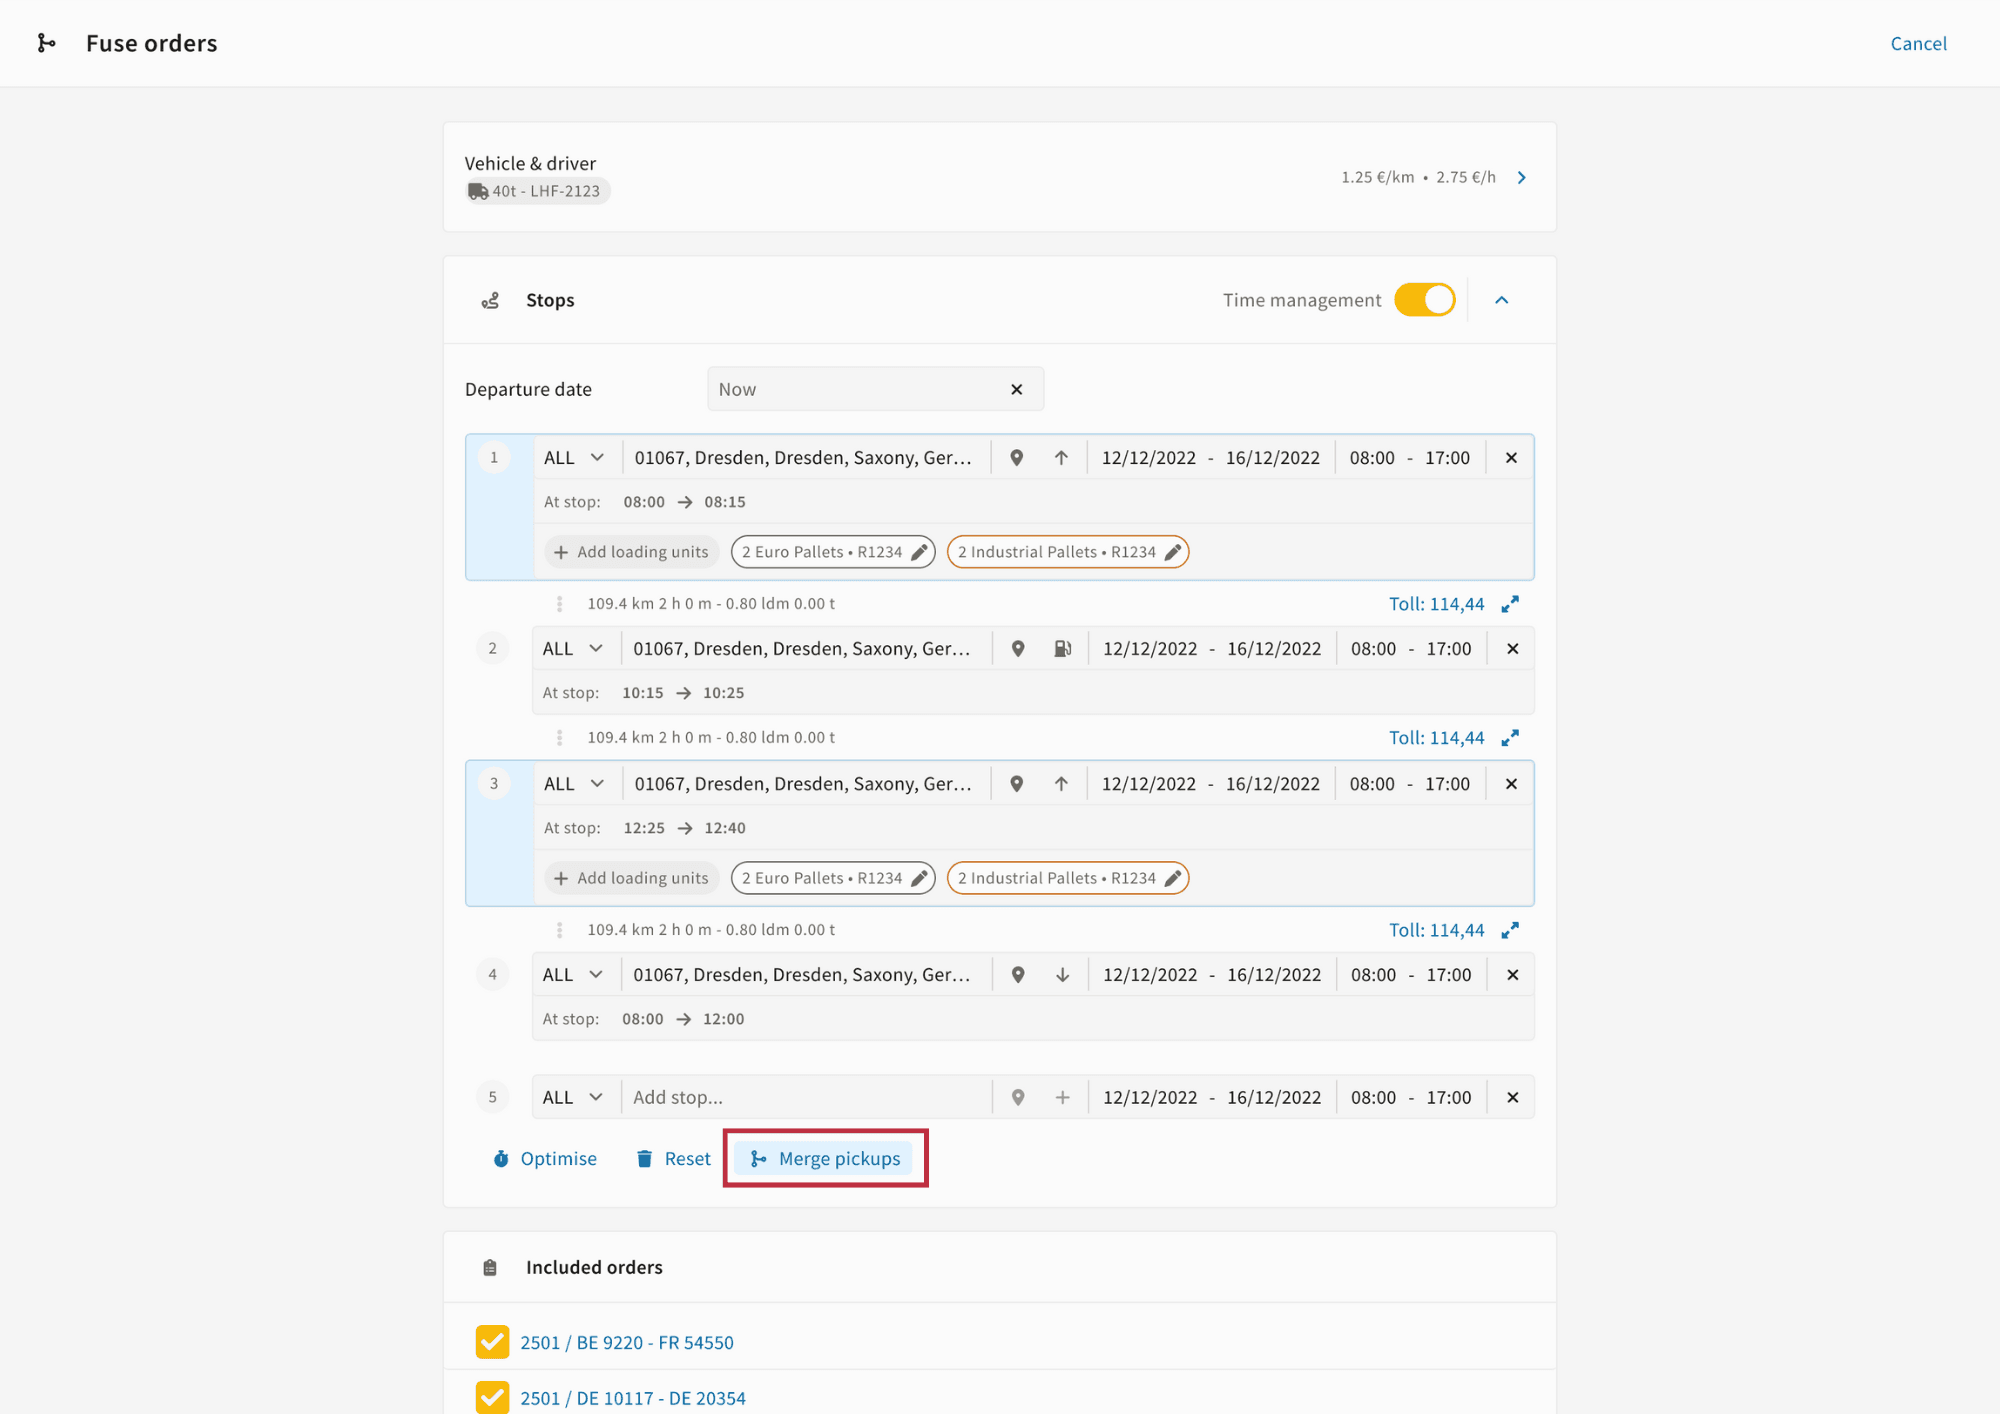
- Merge Duplicate Stops
- Assign Assets and Review Data
- Adjust and Save the Tour
- Monitor Tour Status & Events
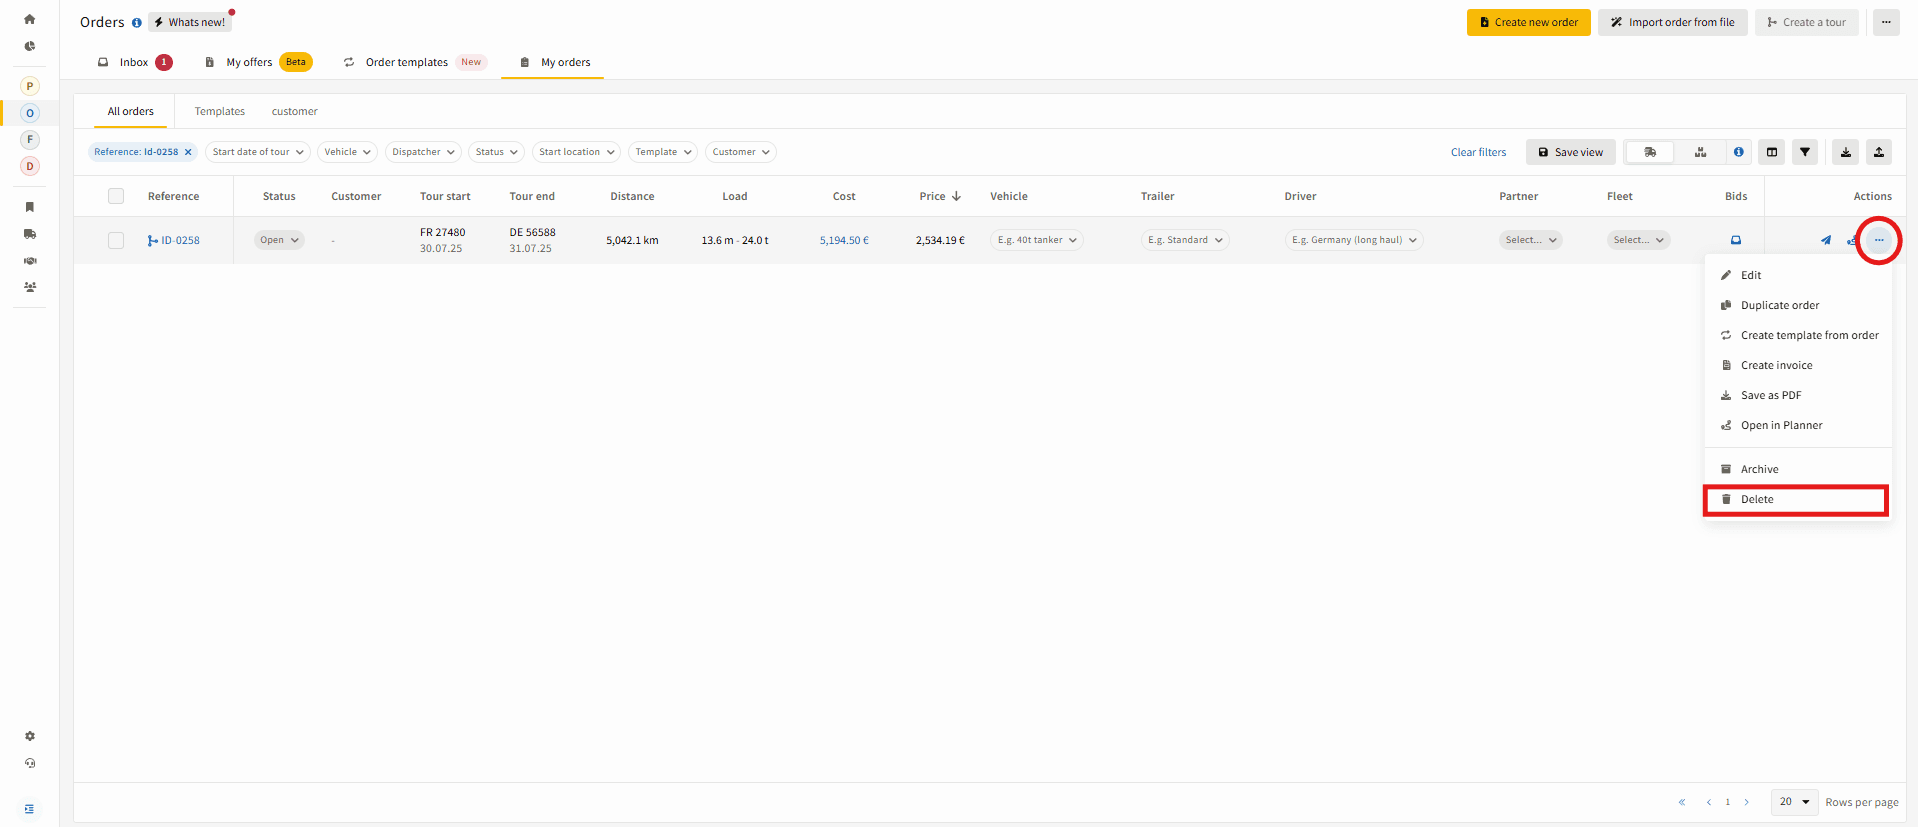
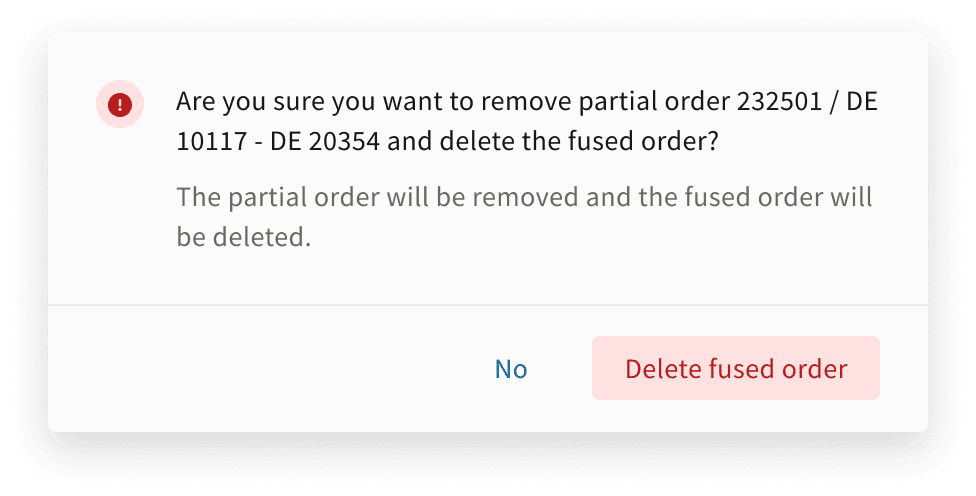
- Unfuse a Tour
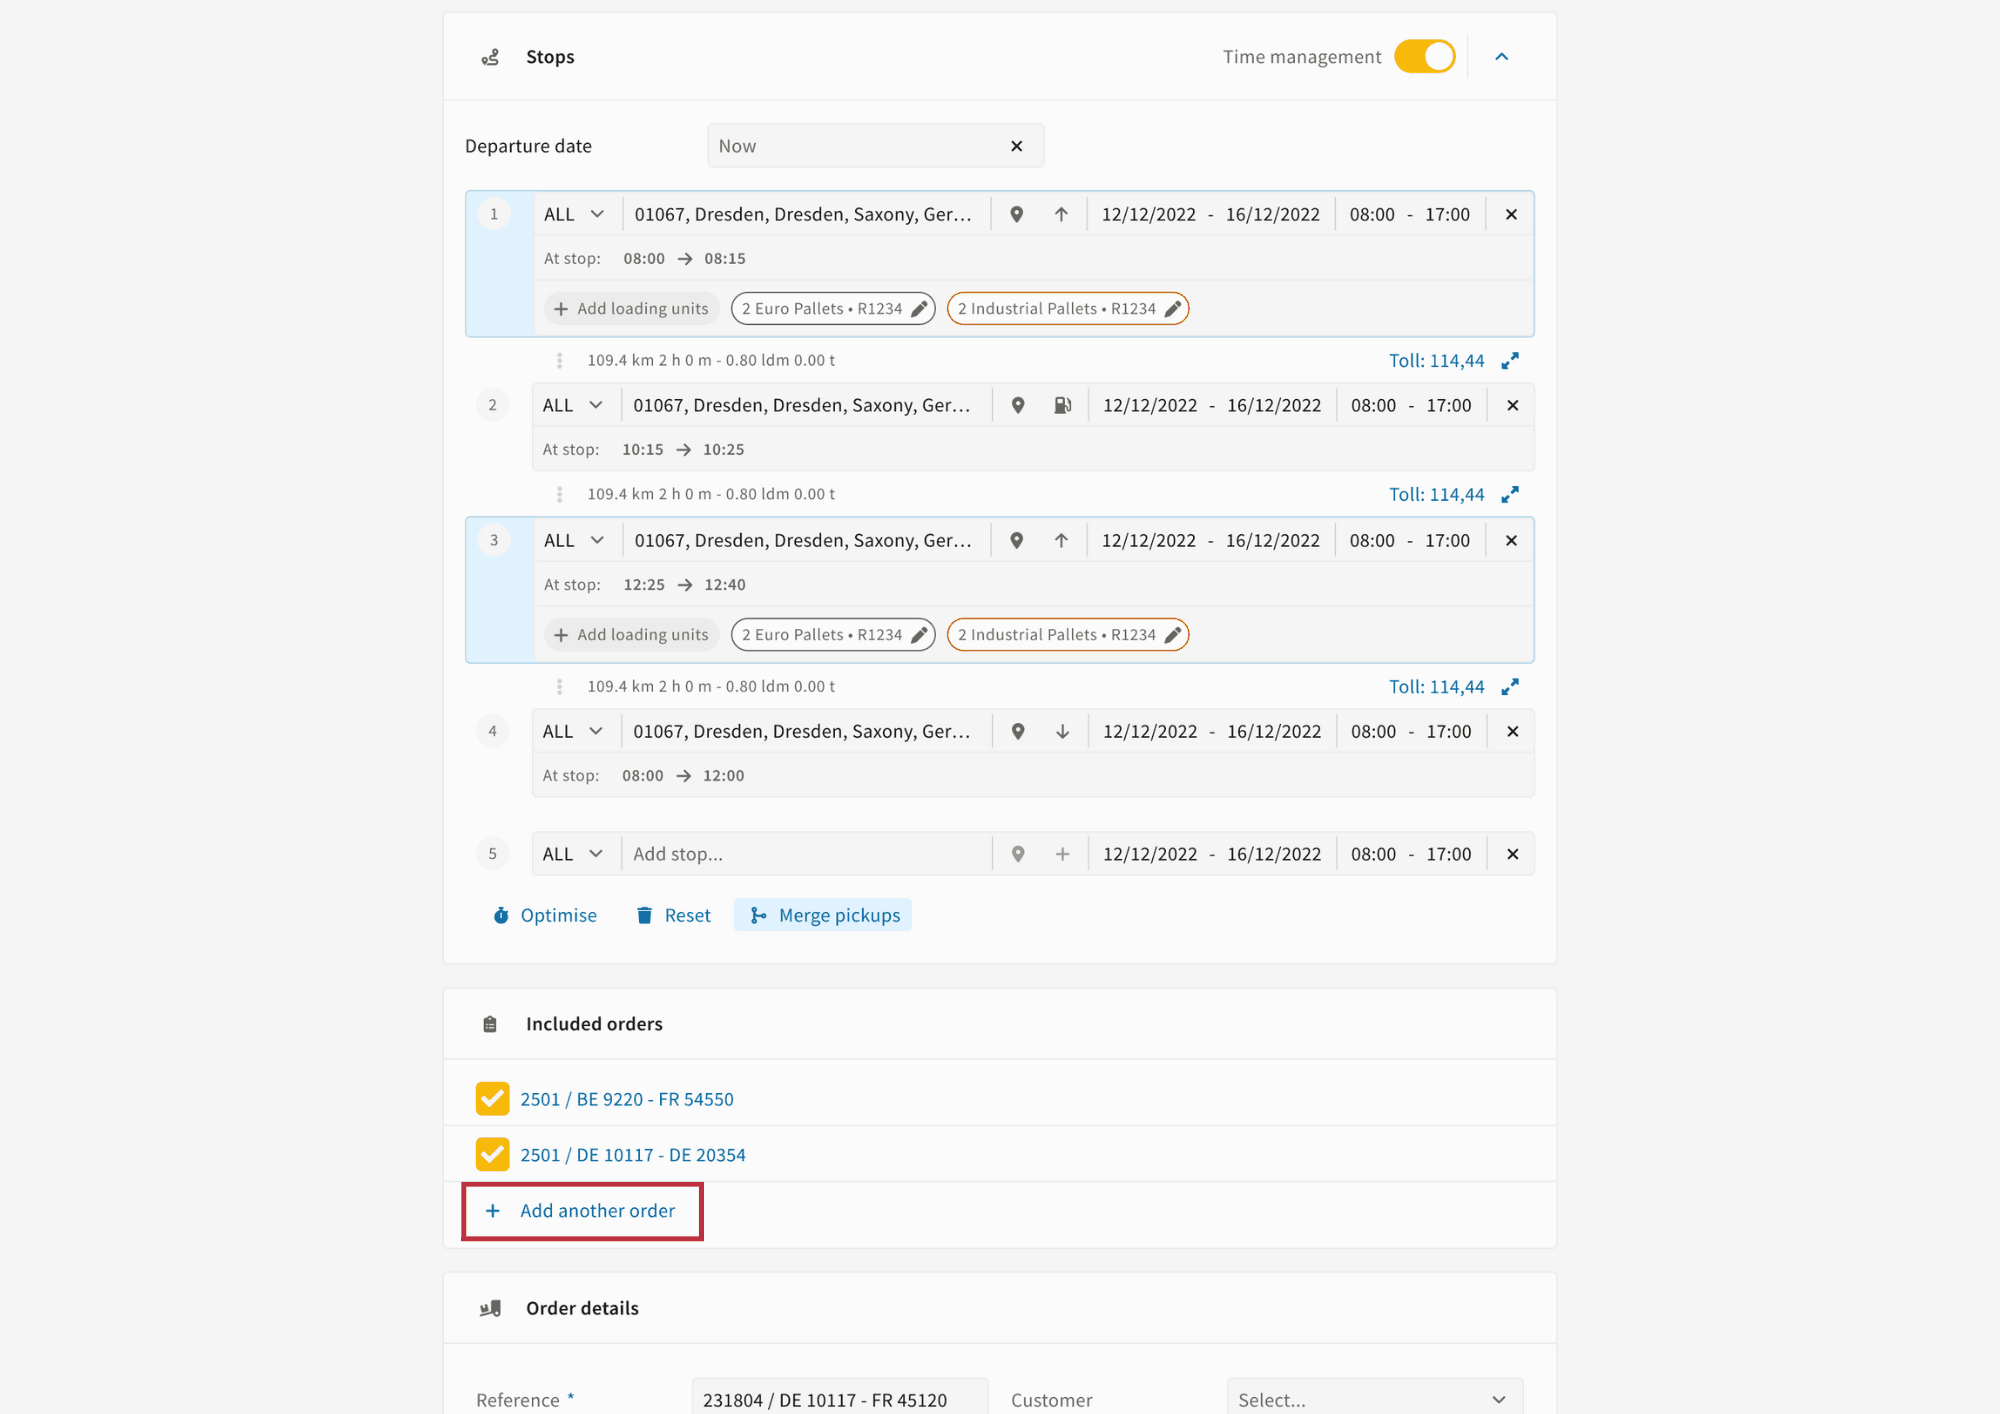
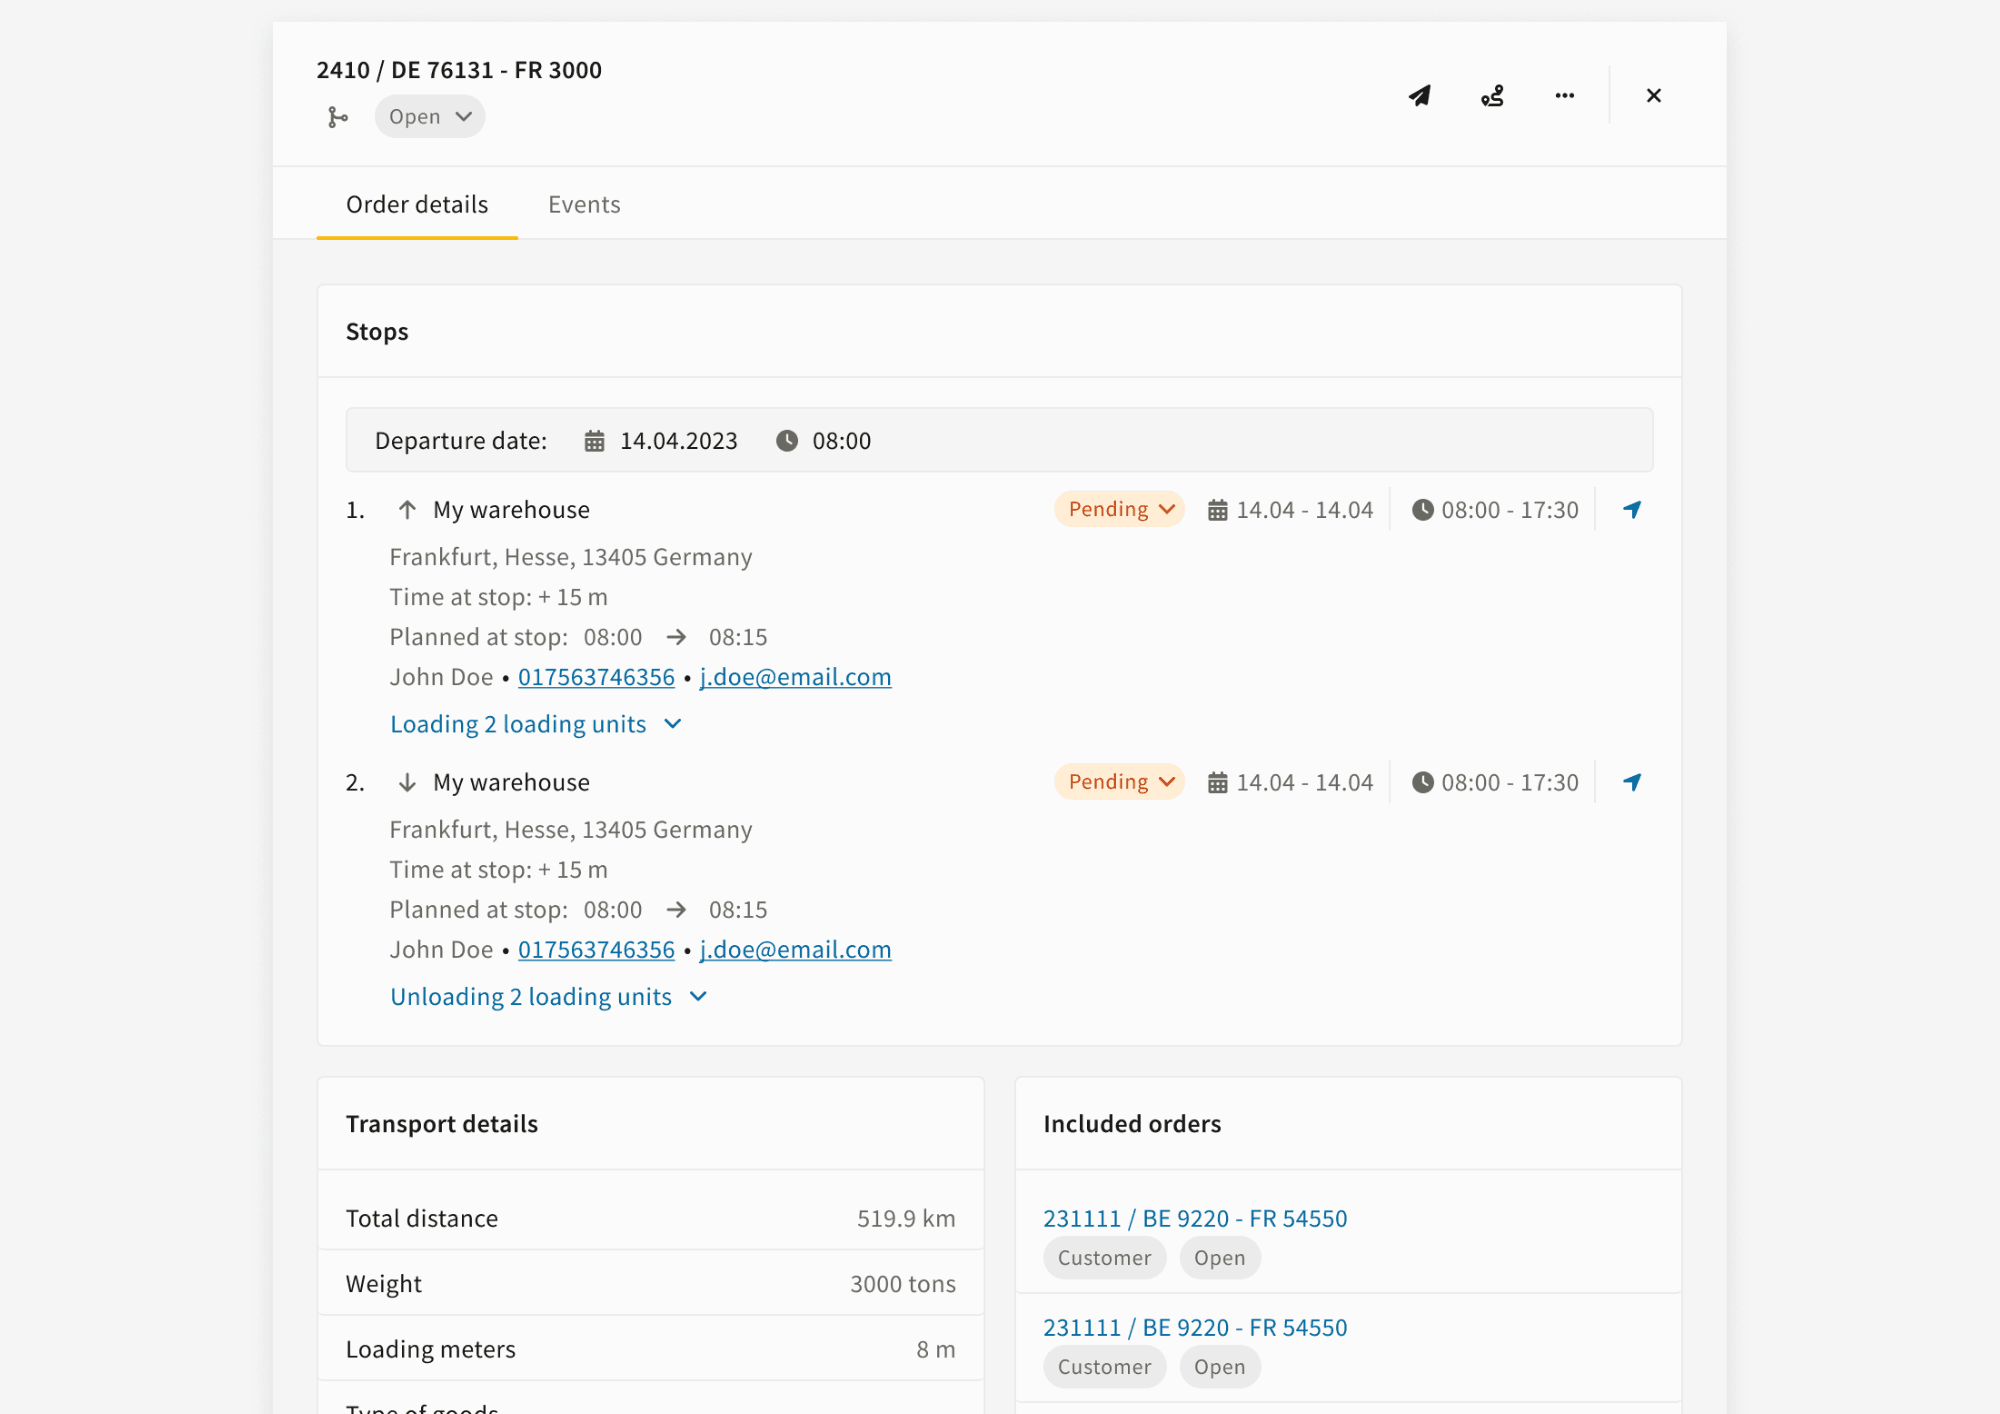
- Review Included Orders
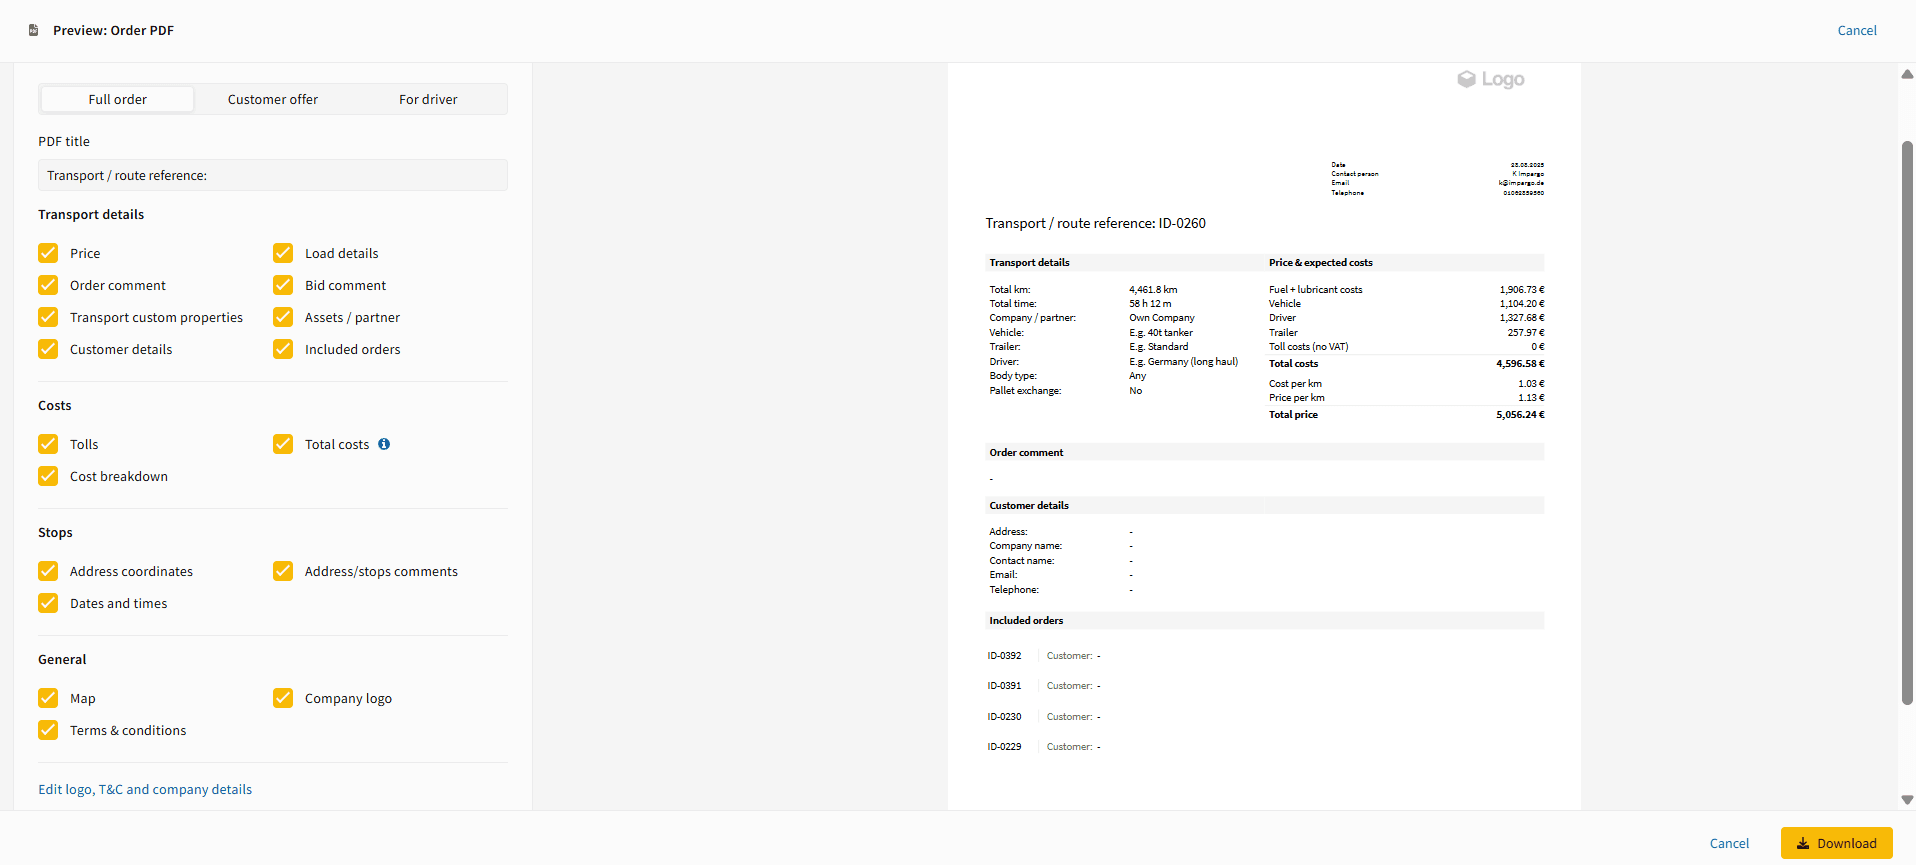
- Export a Tour as PDF
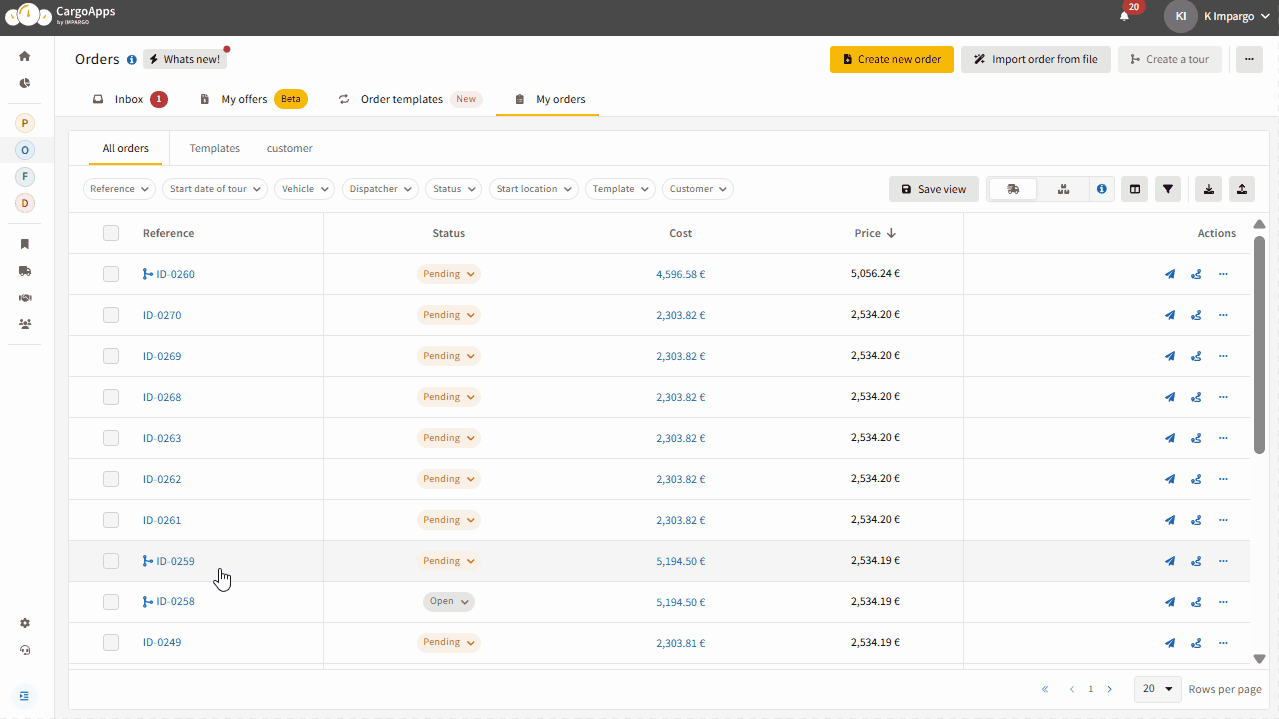
- Find Tours and Partial Orders
- Review Important Rules
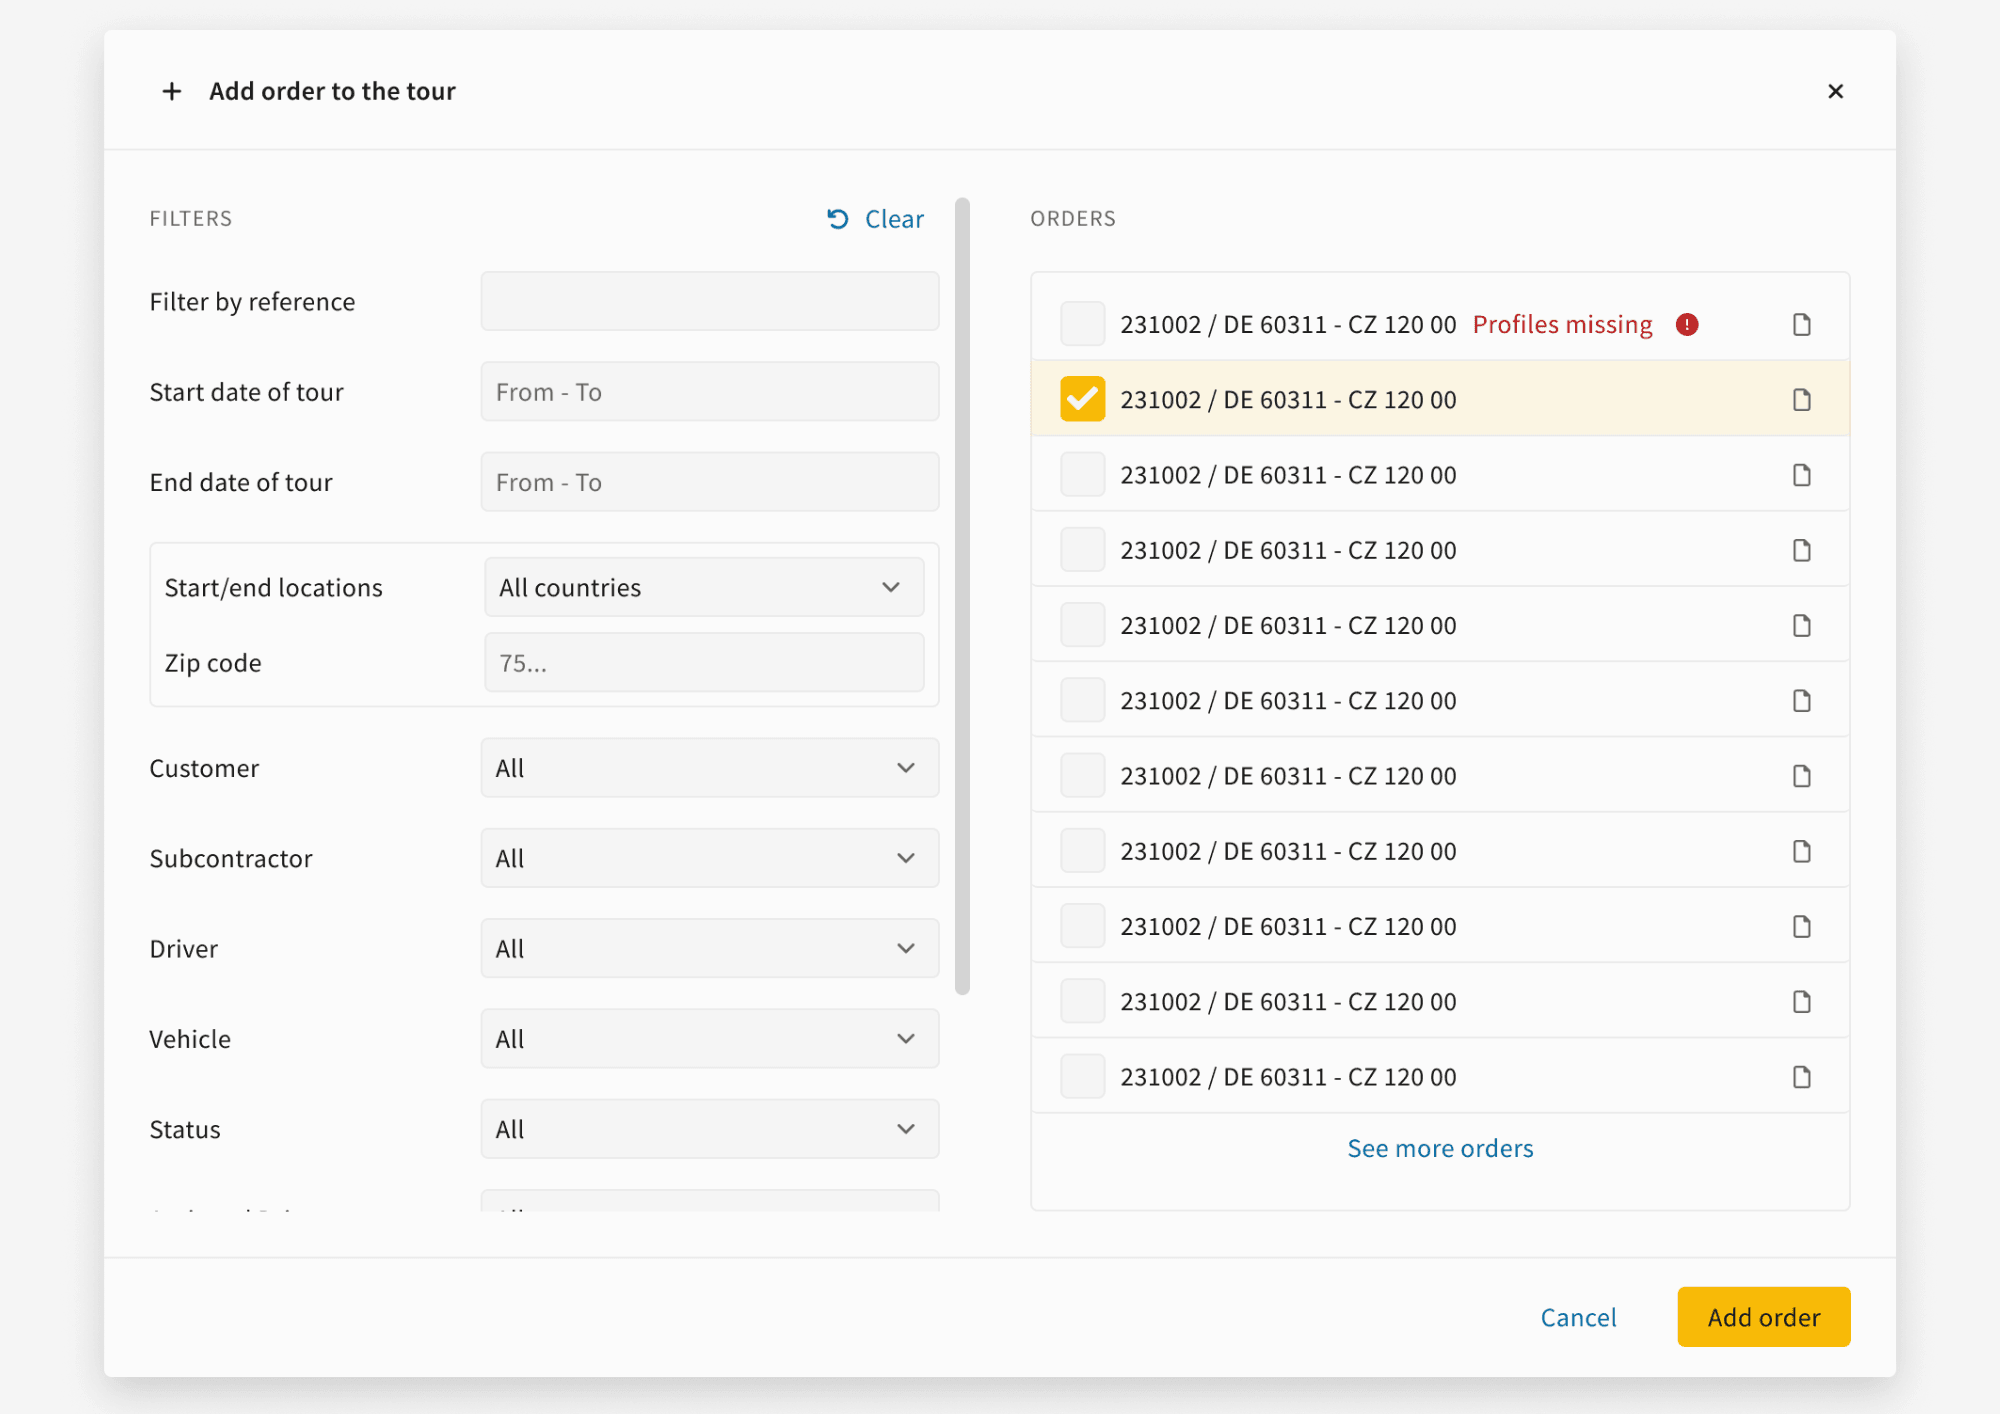
Dispatchers often manage multiple transport orders that share routes or destinations. Planning these separately can lead to duplicate stops, inefficient use of vehicles, and driver confusion.
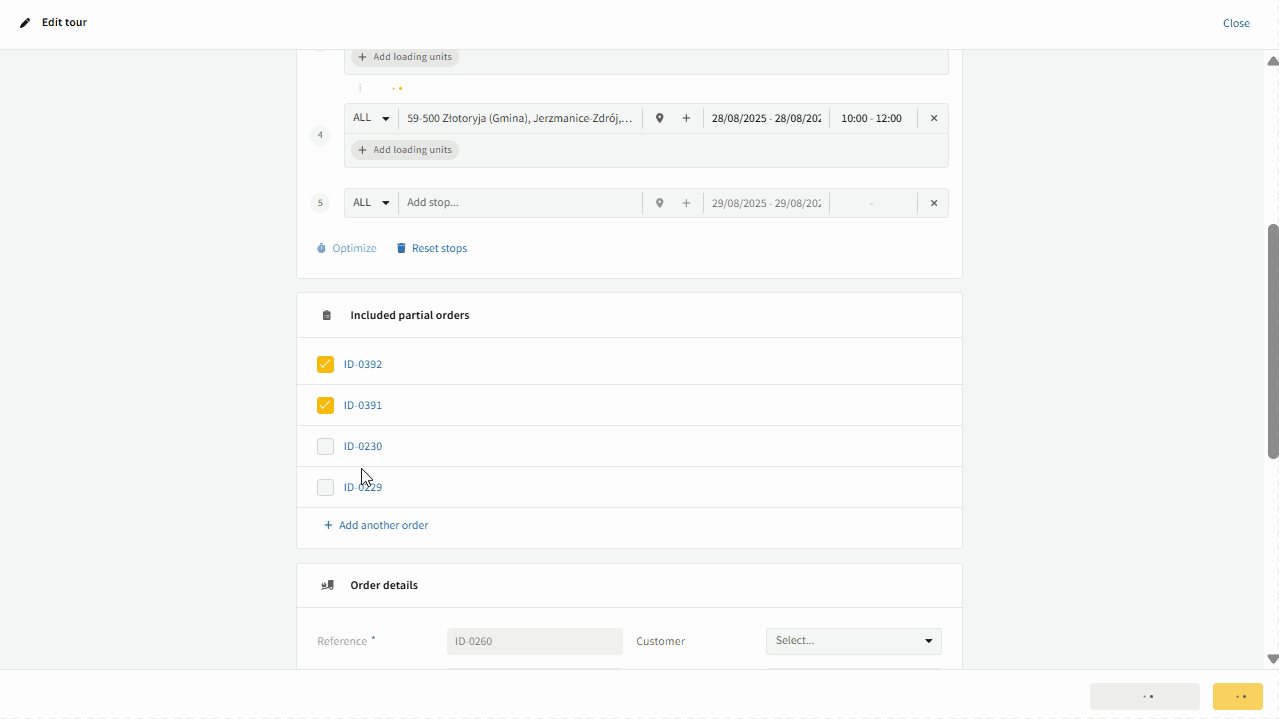
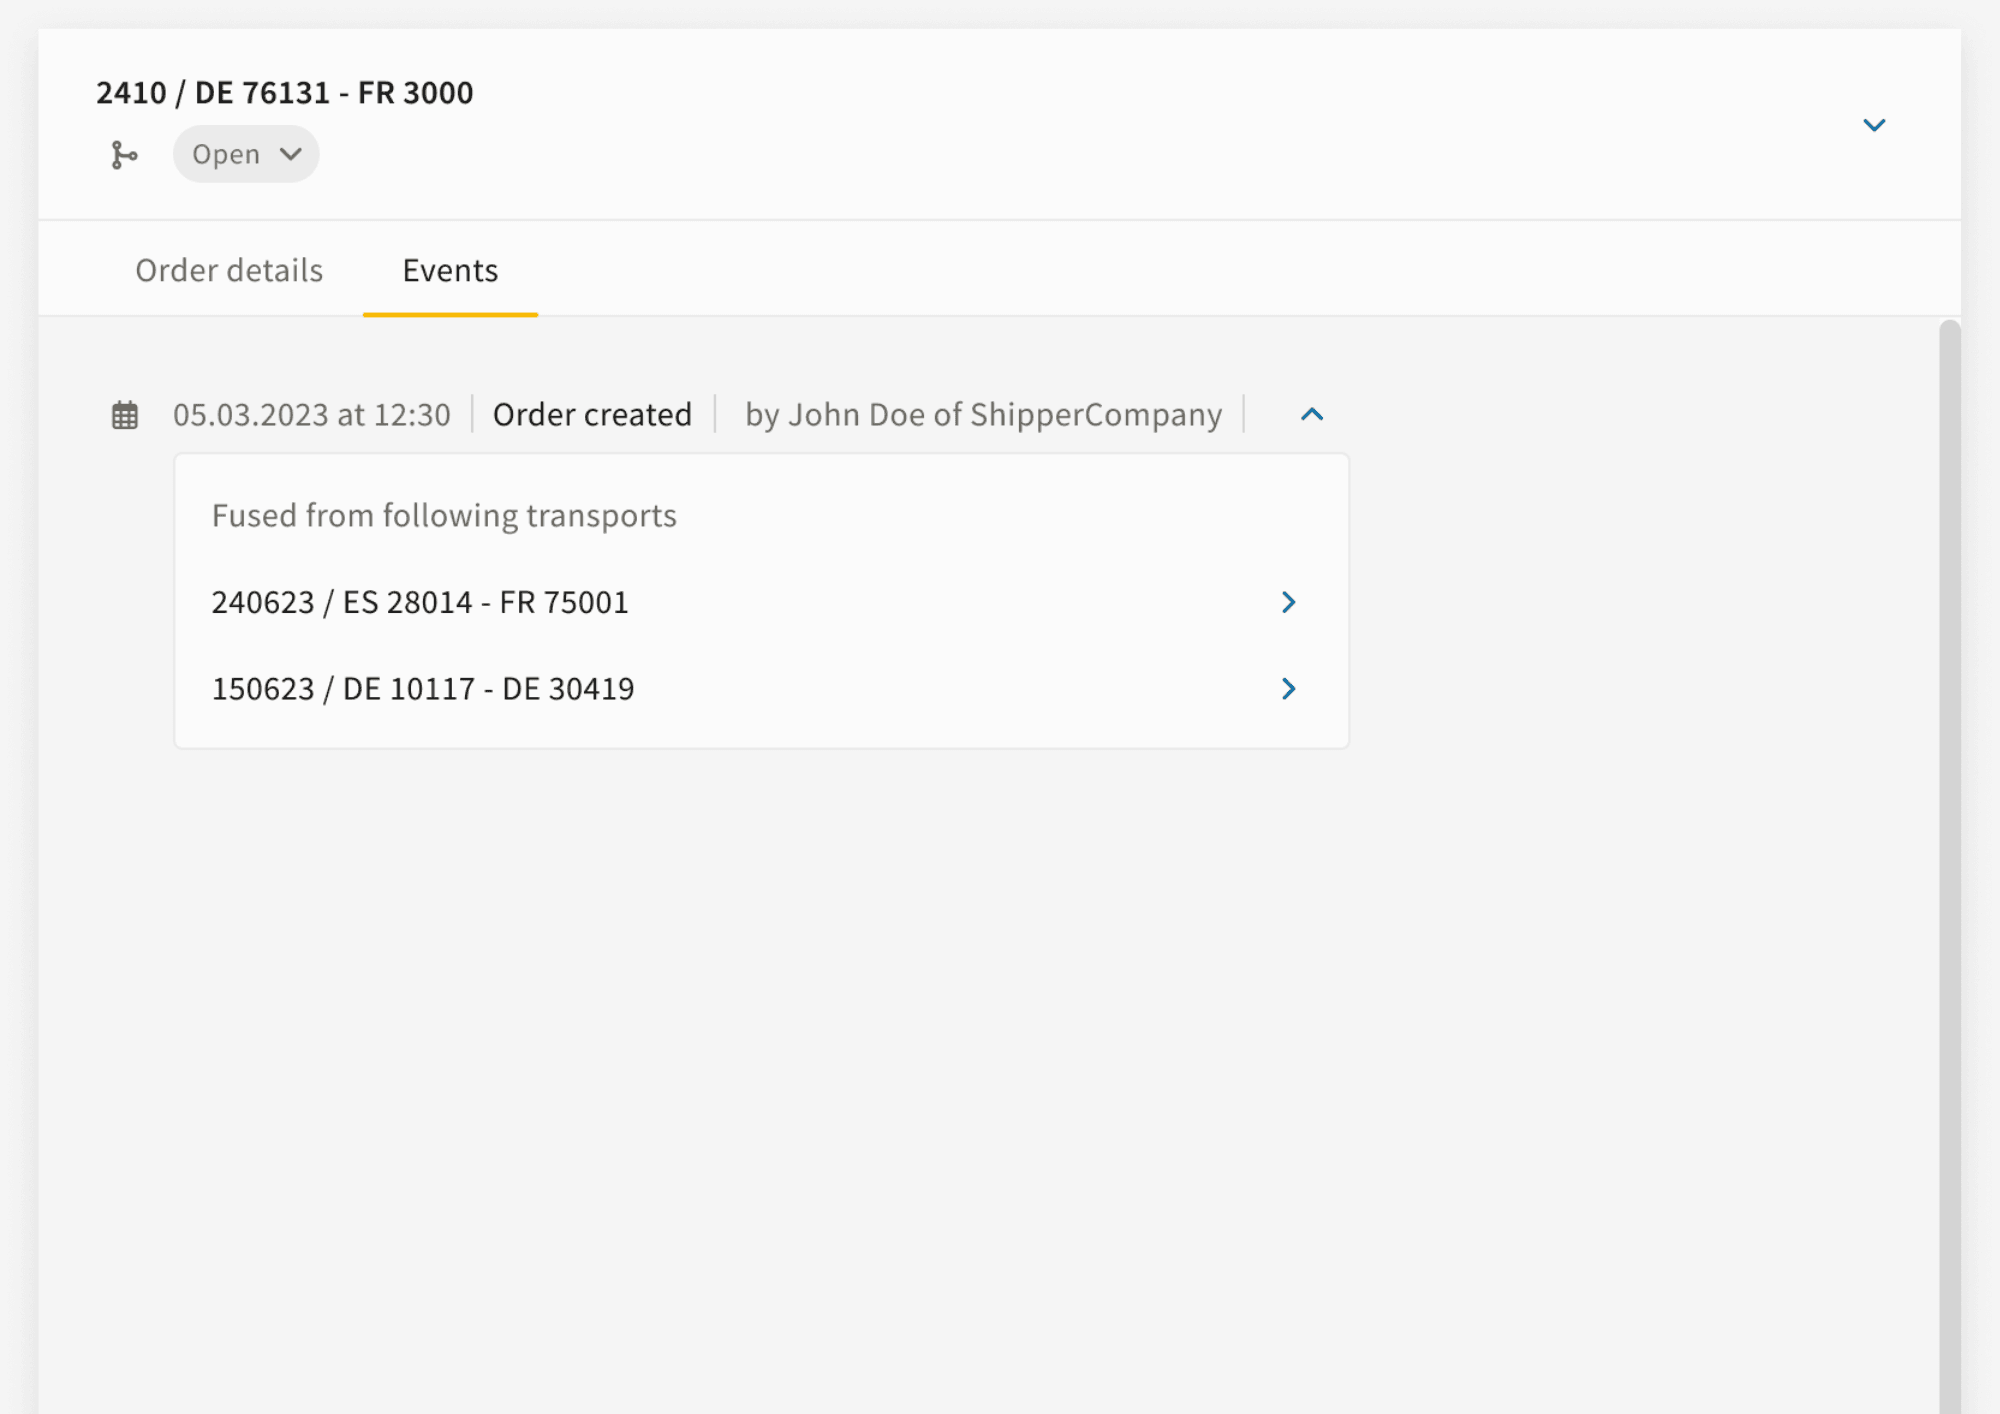
The Create Tour from Orders feature allows you to combine two or more Original Orders into a single Tour. Each Original Order becomes a Partial Order inside the Tour. Dispatchers retain full visibility of all Partial Orders, while drivers receive one clear assignment.
Key Benefits
- Combine multiple orders into one optimized tour
- Merge duplicate stops (pickups or drops)
- Keep original orders accessible for invoicing and verification
- Drivers see one simple assignment, dispatchers keep full visibility
- Export professional PDFs with all customer and order references
Terminology
- Original Order: An individual order created or imported into the system
- Tour: A group of two or more orders fused into one transport unit
- Partial Order: An Original Order once it has been fused into a Tour