IMPARGO Knowledge Center
Unleash the full potential of our software with our comprehensive Knowledge Center, offering detailed information on its functionality and features.
Manage custom order, customer and partner fields
1. TMS Custom Fields
With Custom Fields you add extra information straight into your workflows, such as special delivery instructions, customer preferences, vehicle requirements or partner certifications.
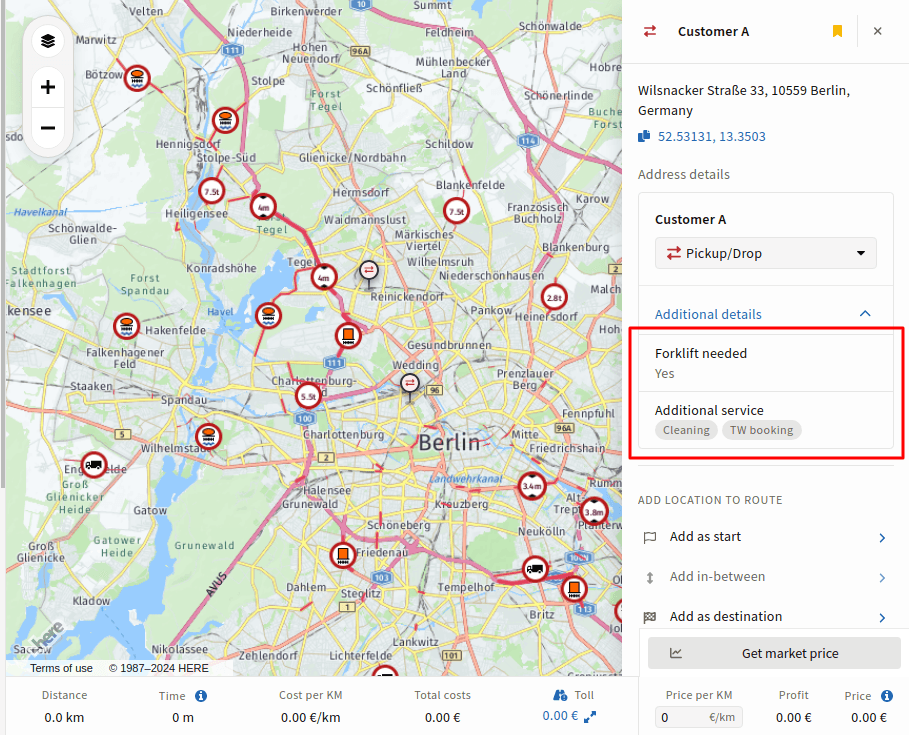
An example: one order needs a forklift at the destination. With a custom field, the transport manager marks that a forklift is needed and adds any extra services, so every part of the job is covered.
If nobody tracks these needs, things go wrong: trucks may arrive without the right equipment, documents may be incomplete at customs, or deliveries may be late because handling equipment is missing.
2. Benefits and Practical Examples
Custom fields let you record the information that matters most for your work, organised the way you need it.
What Custom Fields Offer
- Flexible Data Integration: Add the information your work needs, such as load requirements, vehicle specifications or driver preferences.
- Diverse Customization Options: Choose from field types such as dropdown menus, checkboxes and text fields. Make fields mandatory or set fixed options, so data entry is easier and key information is always included.
- Easy Access: Add, edit and view custom fields in the IMPARGO custom properties settings. Dispatchers and drivers see these details quickly, so nothing gets missed during delivery.
- Seamless Connectivity: Custom fields work across IMPARGO. Your custom data is at hand in the DriverApp, in PDFs, on tracking links and in order management.
- Business-specific Solutions: Whether you handle FTL, LTL, Express, ADR or bulk deliveries, custom fields give you the exact data each type of order needs.
Examples of Custom Fields
You can add custom fields to different parts of your work. Some examples:
- Orders: Track special requirements for each delivery. For example, create fields for "Preferred Route" or "No Toll Roads" if a customer wants to avoid tolls. Add a "Forklift Required" checkbox so the right equipment is ready for the delivery.
- Addresses: Record location details that affect the delivery. For example, add an "Equipment Requirements" field that says if a forklift is needed at the delivery site. Your team then arrives prepared.
- Customers: Store external reference numbers or customer preferences. For example, add a "Customer Preferences" field with handling instructions or delivery windows, so you meet each customer's needs.
- Partners: Track key information about your partners. For example, record special licenses or certifications and their expiration dates. That way no required credential runs out unnoticed.
This way your data is organised to fit your transport work.
3. Set Up Custom Fields
Here is how to set up a custom field:
Step 1: Open the custom field settings.
Log in to IMPARGO and open the settings for custom fields.
Step 2: Choose the object.
Select where the field belongs: addresses, orders, customers or partners. Each object can have its own custom fields.

- Addresses: Record details about delivery locations, such as equipment needs. For example, a checkbox that says a location needs a forklift makes sure the right equipment goes there every time. That avoids failed deliveries and wasted trips.
- Orders: Add fields for special services such as express delivery, two-person teams or specific time windows. Every service request is then on record, so dispatchers can plan resources well and meet customer expectations.
- Customers: Store reference numbers or customer preferences, for example an ERP customer ID or a preferred delivery schedule. That makes personal service easy.
- Partners: Track important certifications, such as ADR licenses, and set reminders for when they need to be renewed. This helps you stay compliant and work only with partners who are qualified for a type of transport.
Step 3: Add a custom field.
Click "Add Custom Field" to create a new field.

Step 4: Set up the field.
Fill in these options:
- Label: The name of the field everywhere in the app. Pick a clear name so everyone knows what it is for.
- Description: A short explanation of the field, so your team knows how to use it.
- Field Types: Choose the type that fits your data: text, number, checkbox, single select, multi-select or date. For single and multi-select fields, you set the options users can pick from. That keeps entries consistent.
- Required: Decide if the field is mandatory or optional. If it is required, users must fill it in when they create a new object. Objects created before the field existed do not have it until someone updates them by hand.
- Visibility: Choose where the field shows:
- DriverApp: Drivers see the field in the DriverApp and can use it during the transport.
- PDF Files: The field appears on PDF exports, so printed or shared documents include it.
- Order tracking links: The field appears on tracking links shared with customers, so they can follow the order.
- Partners: The field appears on orders shared with partners. Your internal data stays protected.
Step 5: Save your changes.
Save when all options are set. The new custom field is now ready to use in your daily work.
4. Control Visibility Of Custom Fields
A new custom field appears when you create or update an object such as an order, address, customer or partner. Where the filled-in information shows depends on the visibility settings you choose.
These settings make sure sensitive or internal information only reaches the right people. The options are:
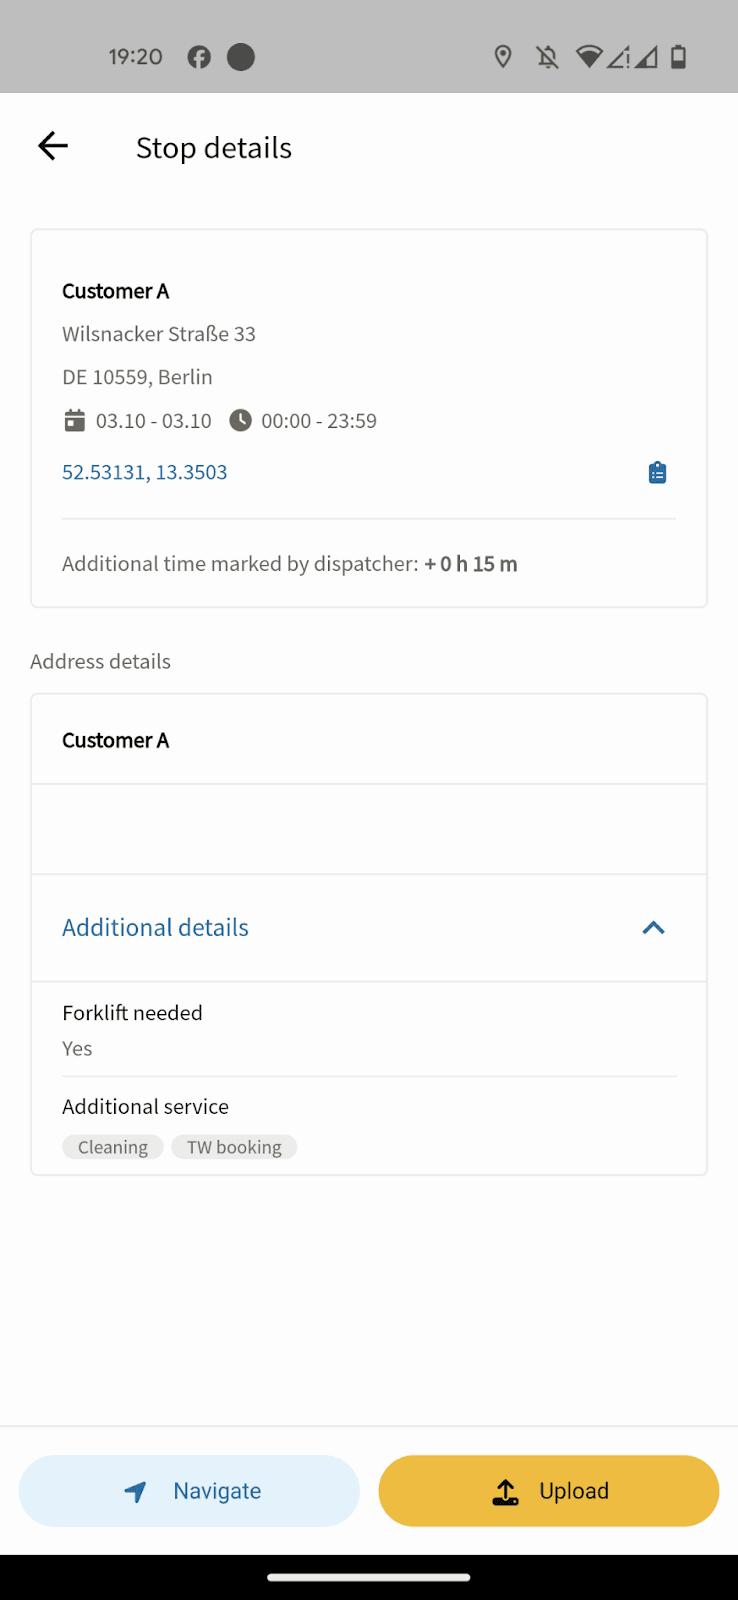
DriverApp: Drivers see the field in the IMPARGO DriverApp and can use it during the transport.
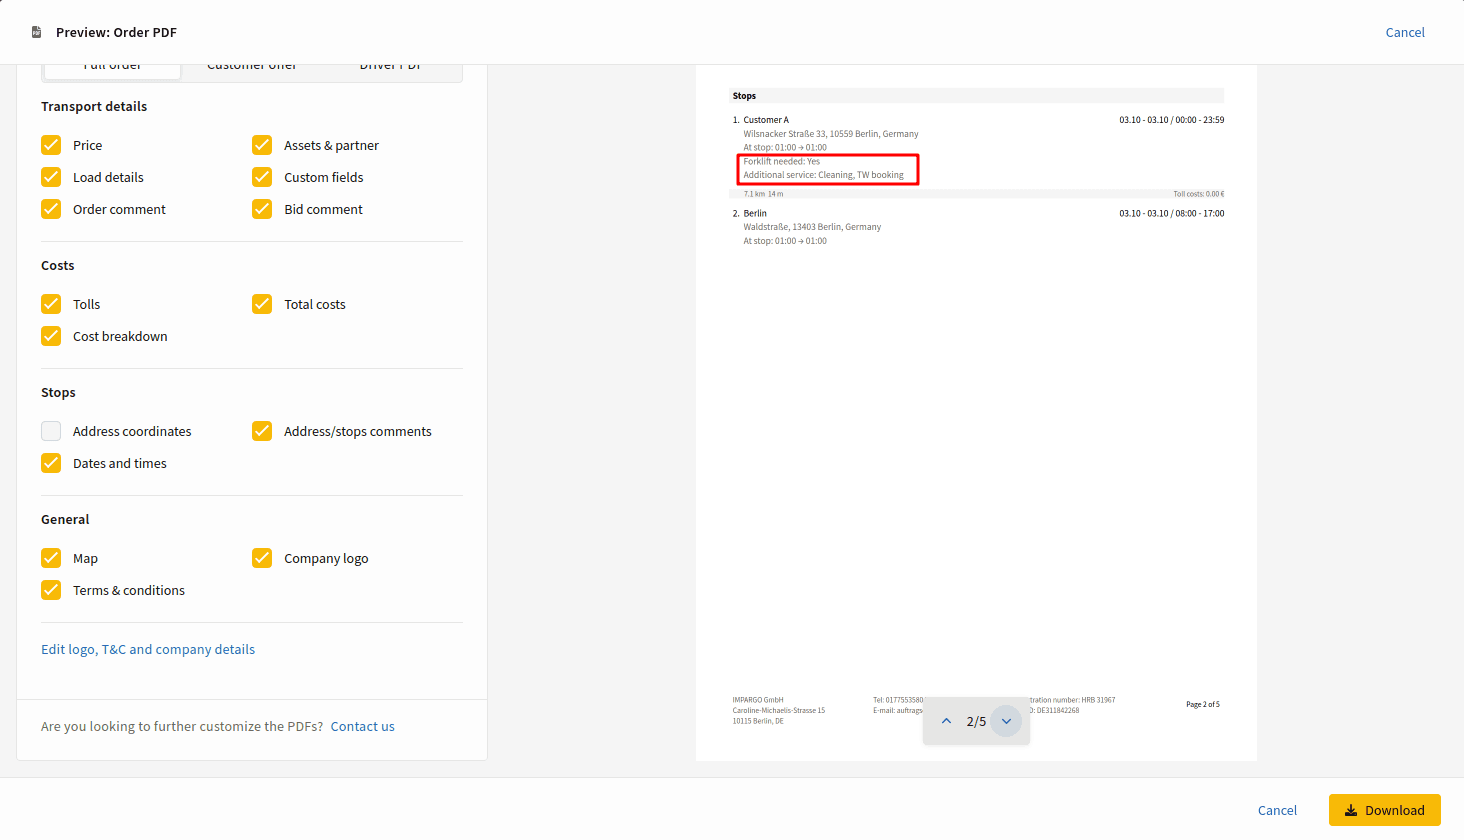
PDF Files: The field appears on PDF exports from IMPARGO.
Order tracking links: The field appears on tracking links shared with customers.
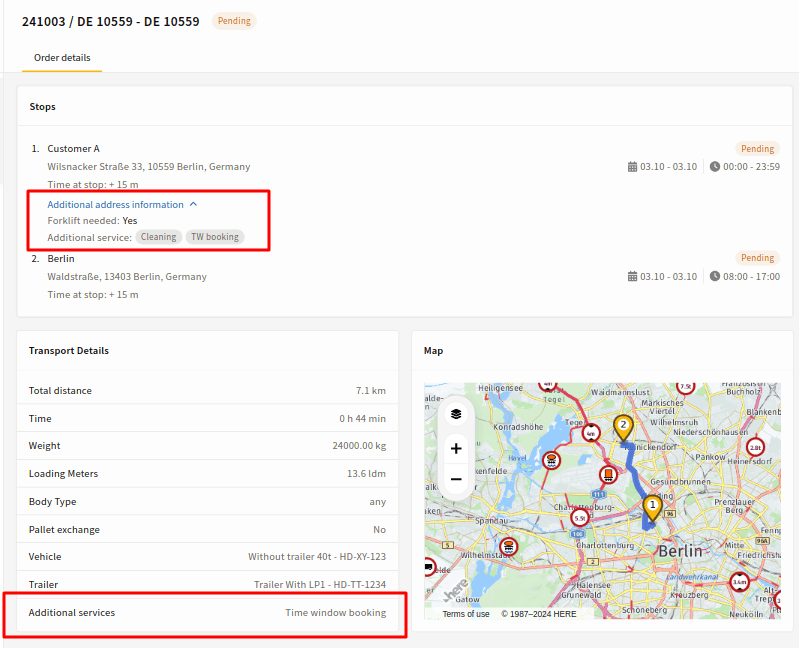
Partners: The field appears on orders shared with partners.
This way, sensitive or internal information is only visible to the people who need it.
5. Edit / Remove Custom Fields
A new custom field is available on every record created after it. Older records, such as past orders, do not have data for it. To add the information to an older record, edit that record by hand.
Edit a Custom Field
Changing a custom field, for example its label or type, can cause problems with existing data. If a text field becomes a multi-select field, the old data may no longer fit, which leads to errors or confusion.
That is why editing options are limited, to keep your data consistent and reliable.
Make Bigger Changes
For bigger changes, such as a new type or new options, it is usually better to delete the old custom field and create a new one. This way:
- Older Records Stay Consistent: Older records keep their original information, so nothing is lost or mixed up.
- New Records Use the Updated Field: New records use the new custom field, so the latest information is captured correctly.
To add the new custom field to older objects, edit each one once.
Your old data stays intact, and future records get the update.

© IMPARGO 2026, All rights reserved.