This guide explains how to organize your My Orders table, save views for faster access, and apply filters to manage your orders more efficiently.
Table of Contents
IMPARGO Knowledge Center
Unleash the full potential of our software with our comprehensive Knowledge Center, offering detailed information on its functionality and features.
This guide explains how to organize your My Orders table, save views for faster access, and apply filters to manage your orders more efficiently.
The Orders module allows you to customize how order information is displayed in the table. You can select which columns appear, rearrange their order, and save different table views for specific workflows.
Default Order Columns
In addition to the default columns, you can add more operational details to your Orders table.
Additional Columns
By selecting and arranging columns, you can organize the My Orders table to match your daily workflow.
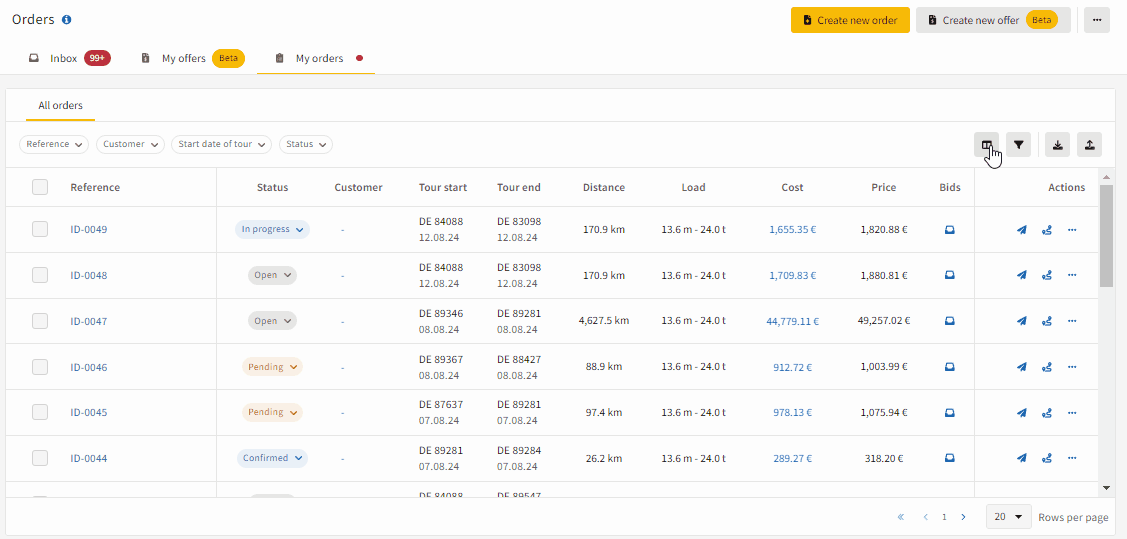
Step 1: Locate the "Customize Columns" button.
In the Orders module, click the Customize Columns button above the orders table.

Step 2: Select the columns you want to display.
Choose the fields you want to appear in the table and deselect columns that are not relevant for your workflow.
Step 3: Arrange the column order.
Use the drag handle next to each column name to move columns into your preferred order. Changes are applied immediately to the table.
Step 4: Apply filters (optional).
You can apply filters before saving a view. For example, you may create a view that shows only orders for a specific customer.
Step 5: Apply table sorting (optional).
Click on any column header to sort the table. Sorting can be saved together with your custom view.
Step 6: Save the view.
Once your table layout is configured, click Save View. Enter a name for the view and click Save.
Note: Saved views remain selected when navigating between modules. When you return to the Orders module, your selected view will still be active.
Tip: Use saved views to quickly switch between different table layouts depending on your workflow.
Example Views
The Orders module includes flexible filtering tools that help you quickly find specific orders.
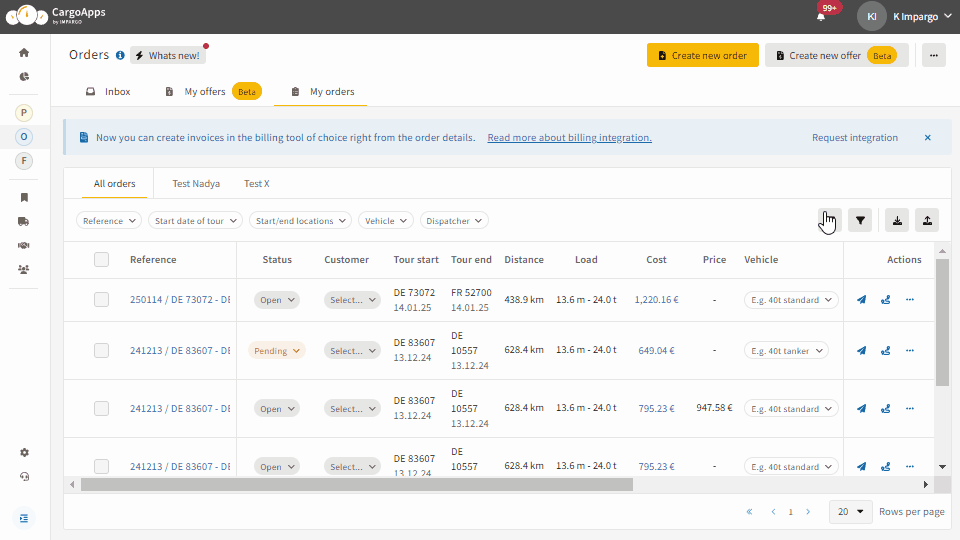
Step 1: Open the Orders module.
Navigate to the Orders module and select the My Orders tab.
Step 2: Open filter settings.
Click the filter icon in the top-right corner of the table to open the filter panel.
Step 3: Apply filters.
Select the filters you want and click Apply Filter. The orders table will update automatically.
Step 4: Add favourite filters (Quick Filters).
In the filter panel, click the star icon next to a filter to mark it as a favourite. Favourite filters appear above the orders table for quick access.

Step 5: Remove filters.
To clear active filters, open the filter panel and click Clear Filters.
Advanced filters help you locate orders based on specific values or conditions.
Step 1: Open the Filters panel in the Orders module.
Step 2: Select the filter condition you want to apply.
Step 3: Apply the filter and the table will display only matching orders.
© IMPARGO 2026, All rights reserved.